A story from my past

Hello!! Well April now - nearly Easter!
Welcome to the Chapter 2 release! We hope that you are enjoying all the FABULOUS projects the team have created so far.
In this project, the dies I have used are;
- Folio Card Case 666278
- Mini Slimline and Tickets 666277
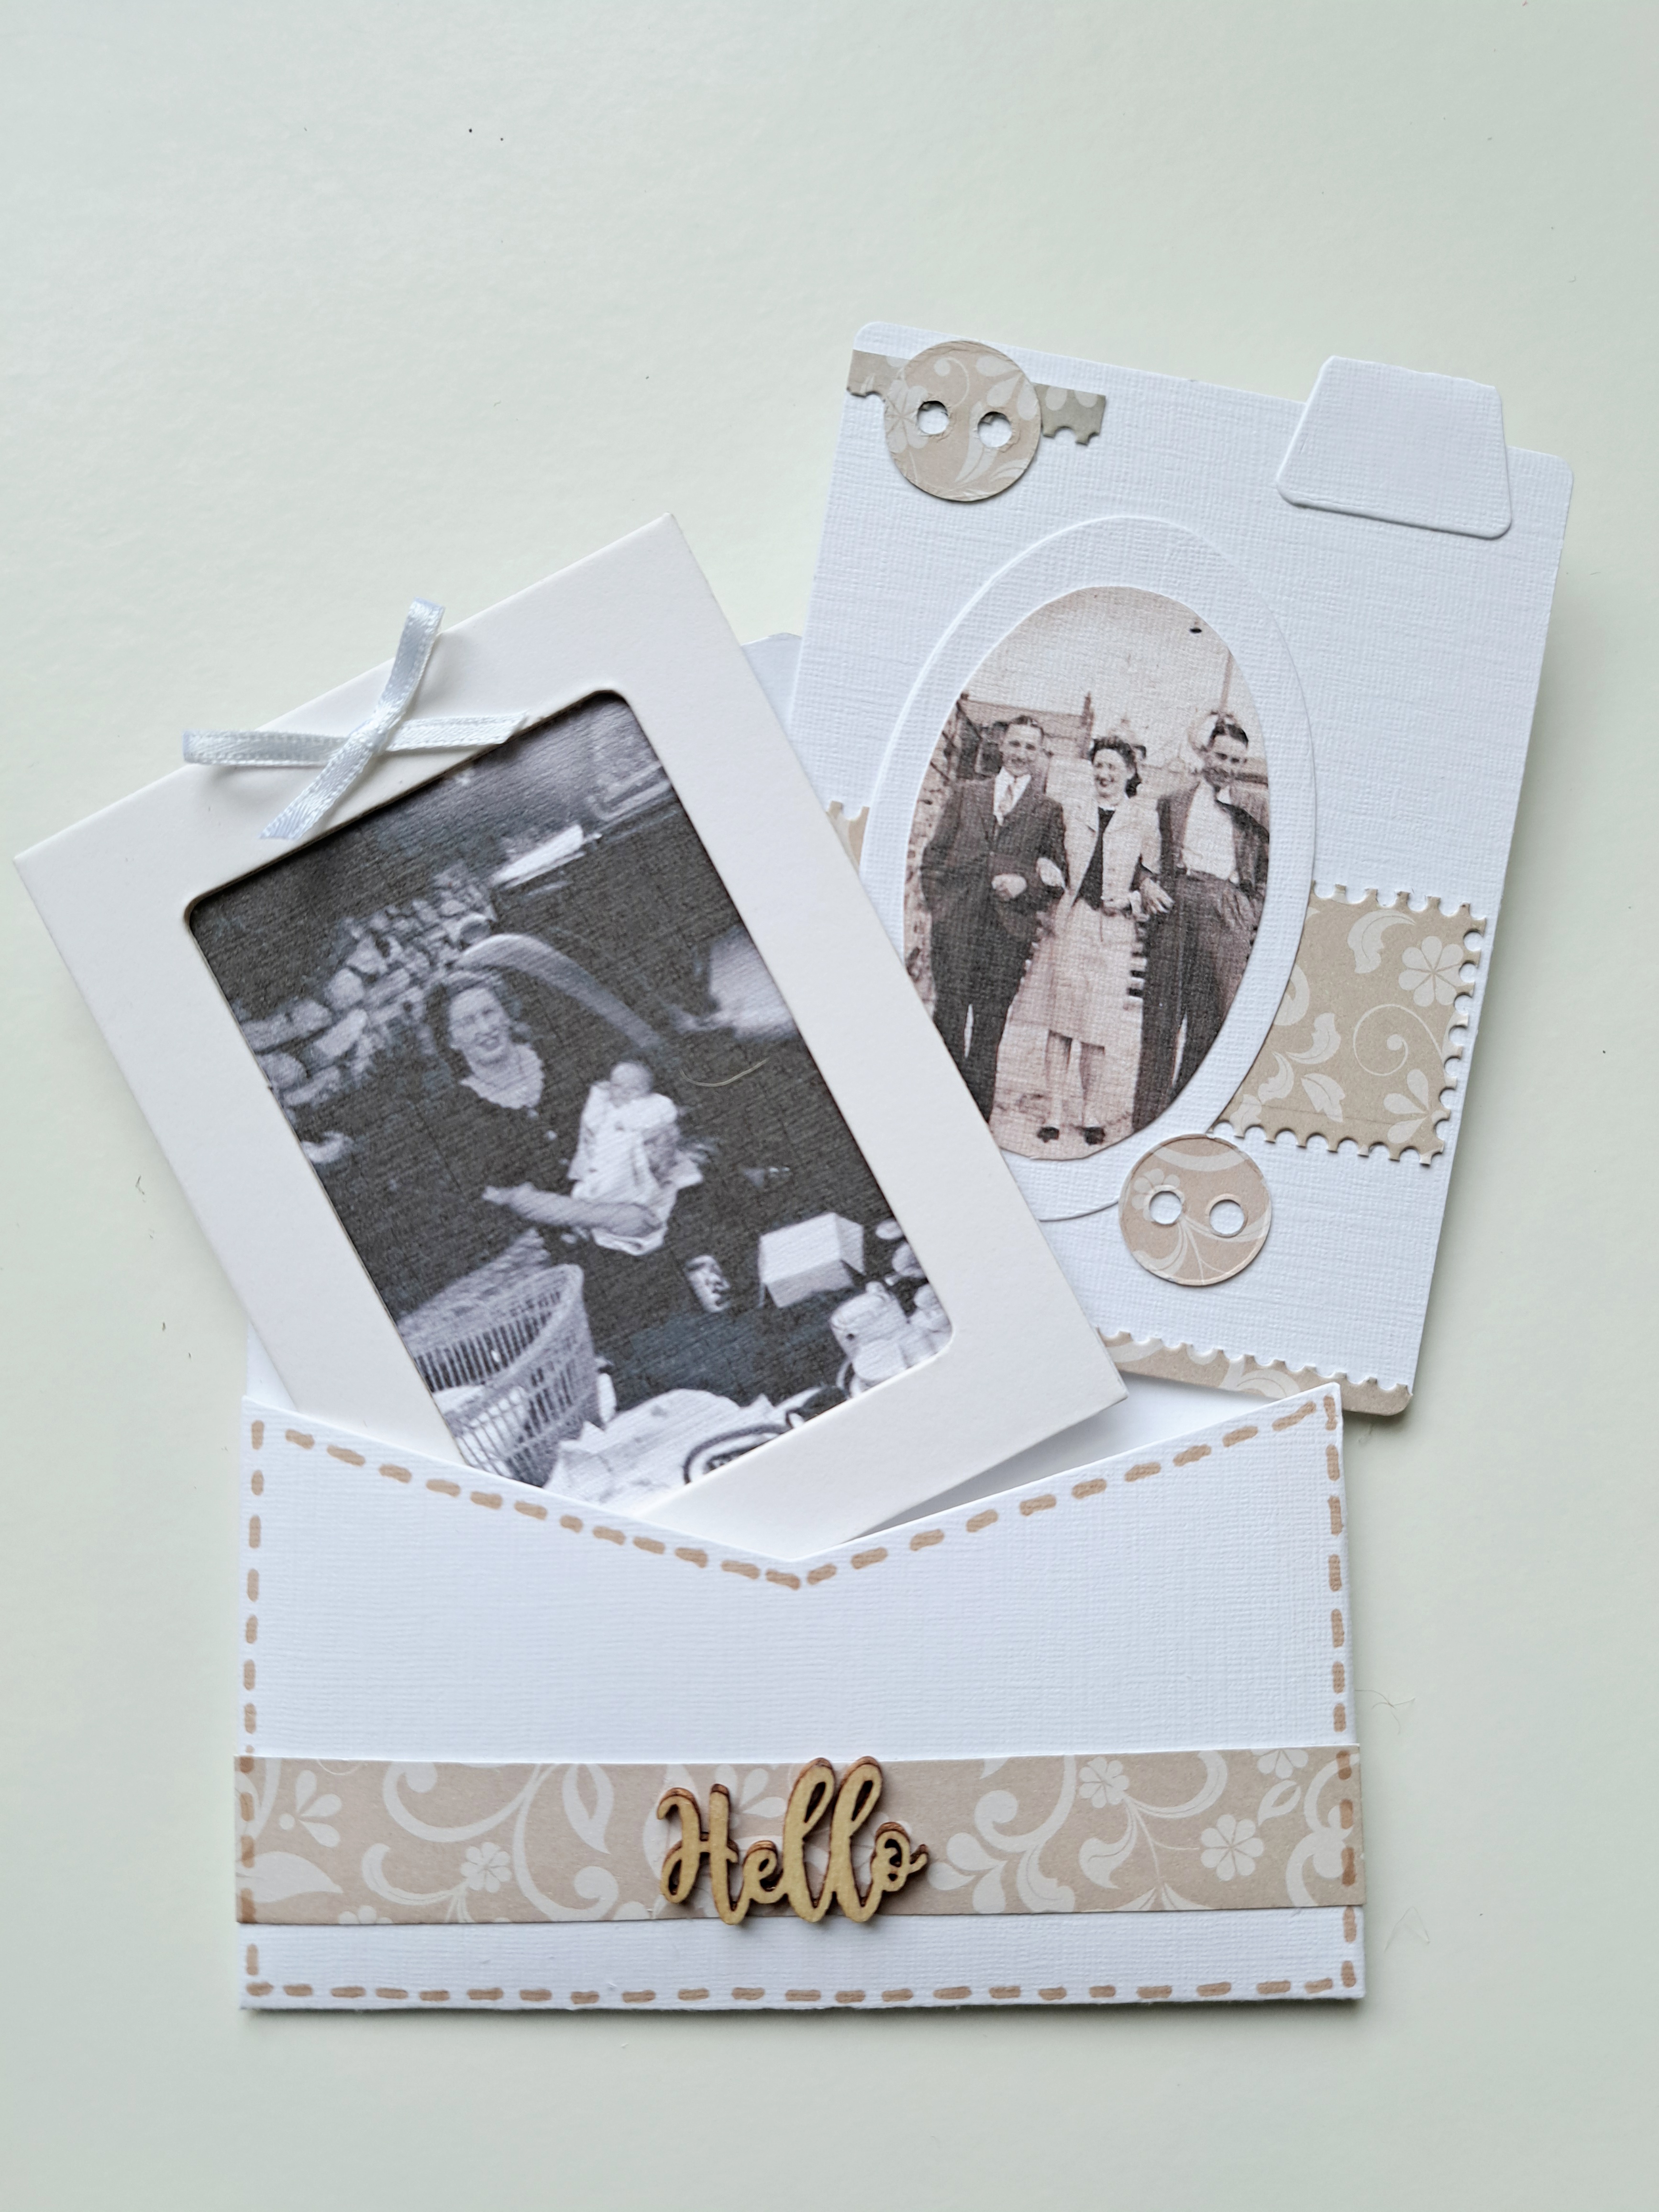
- Journaling Card, Envelope and Window 666276
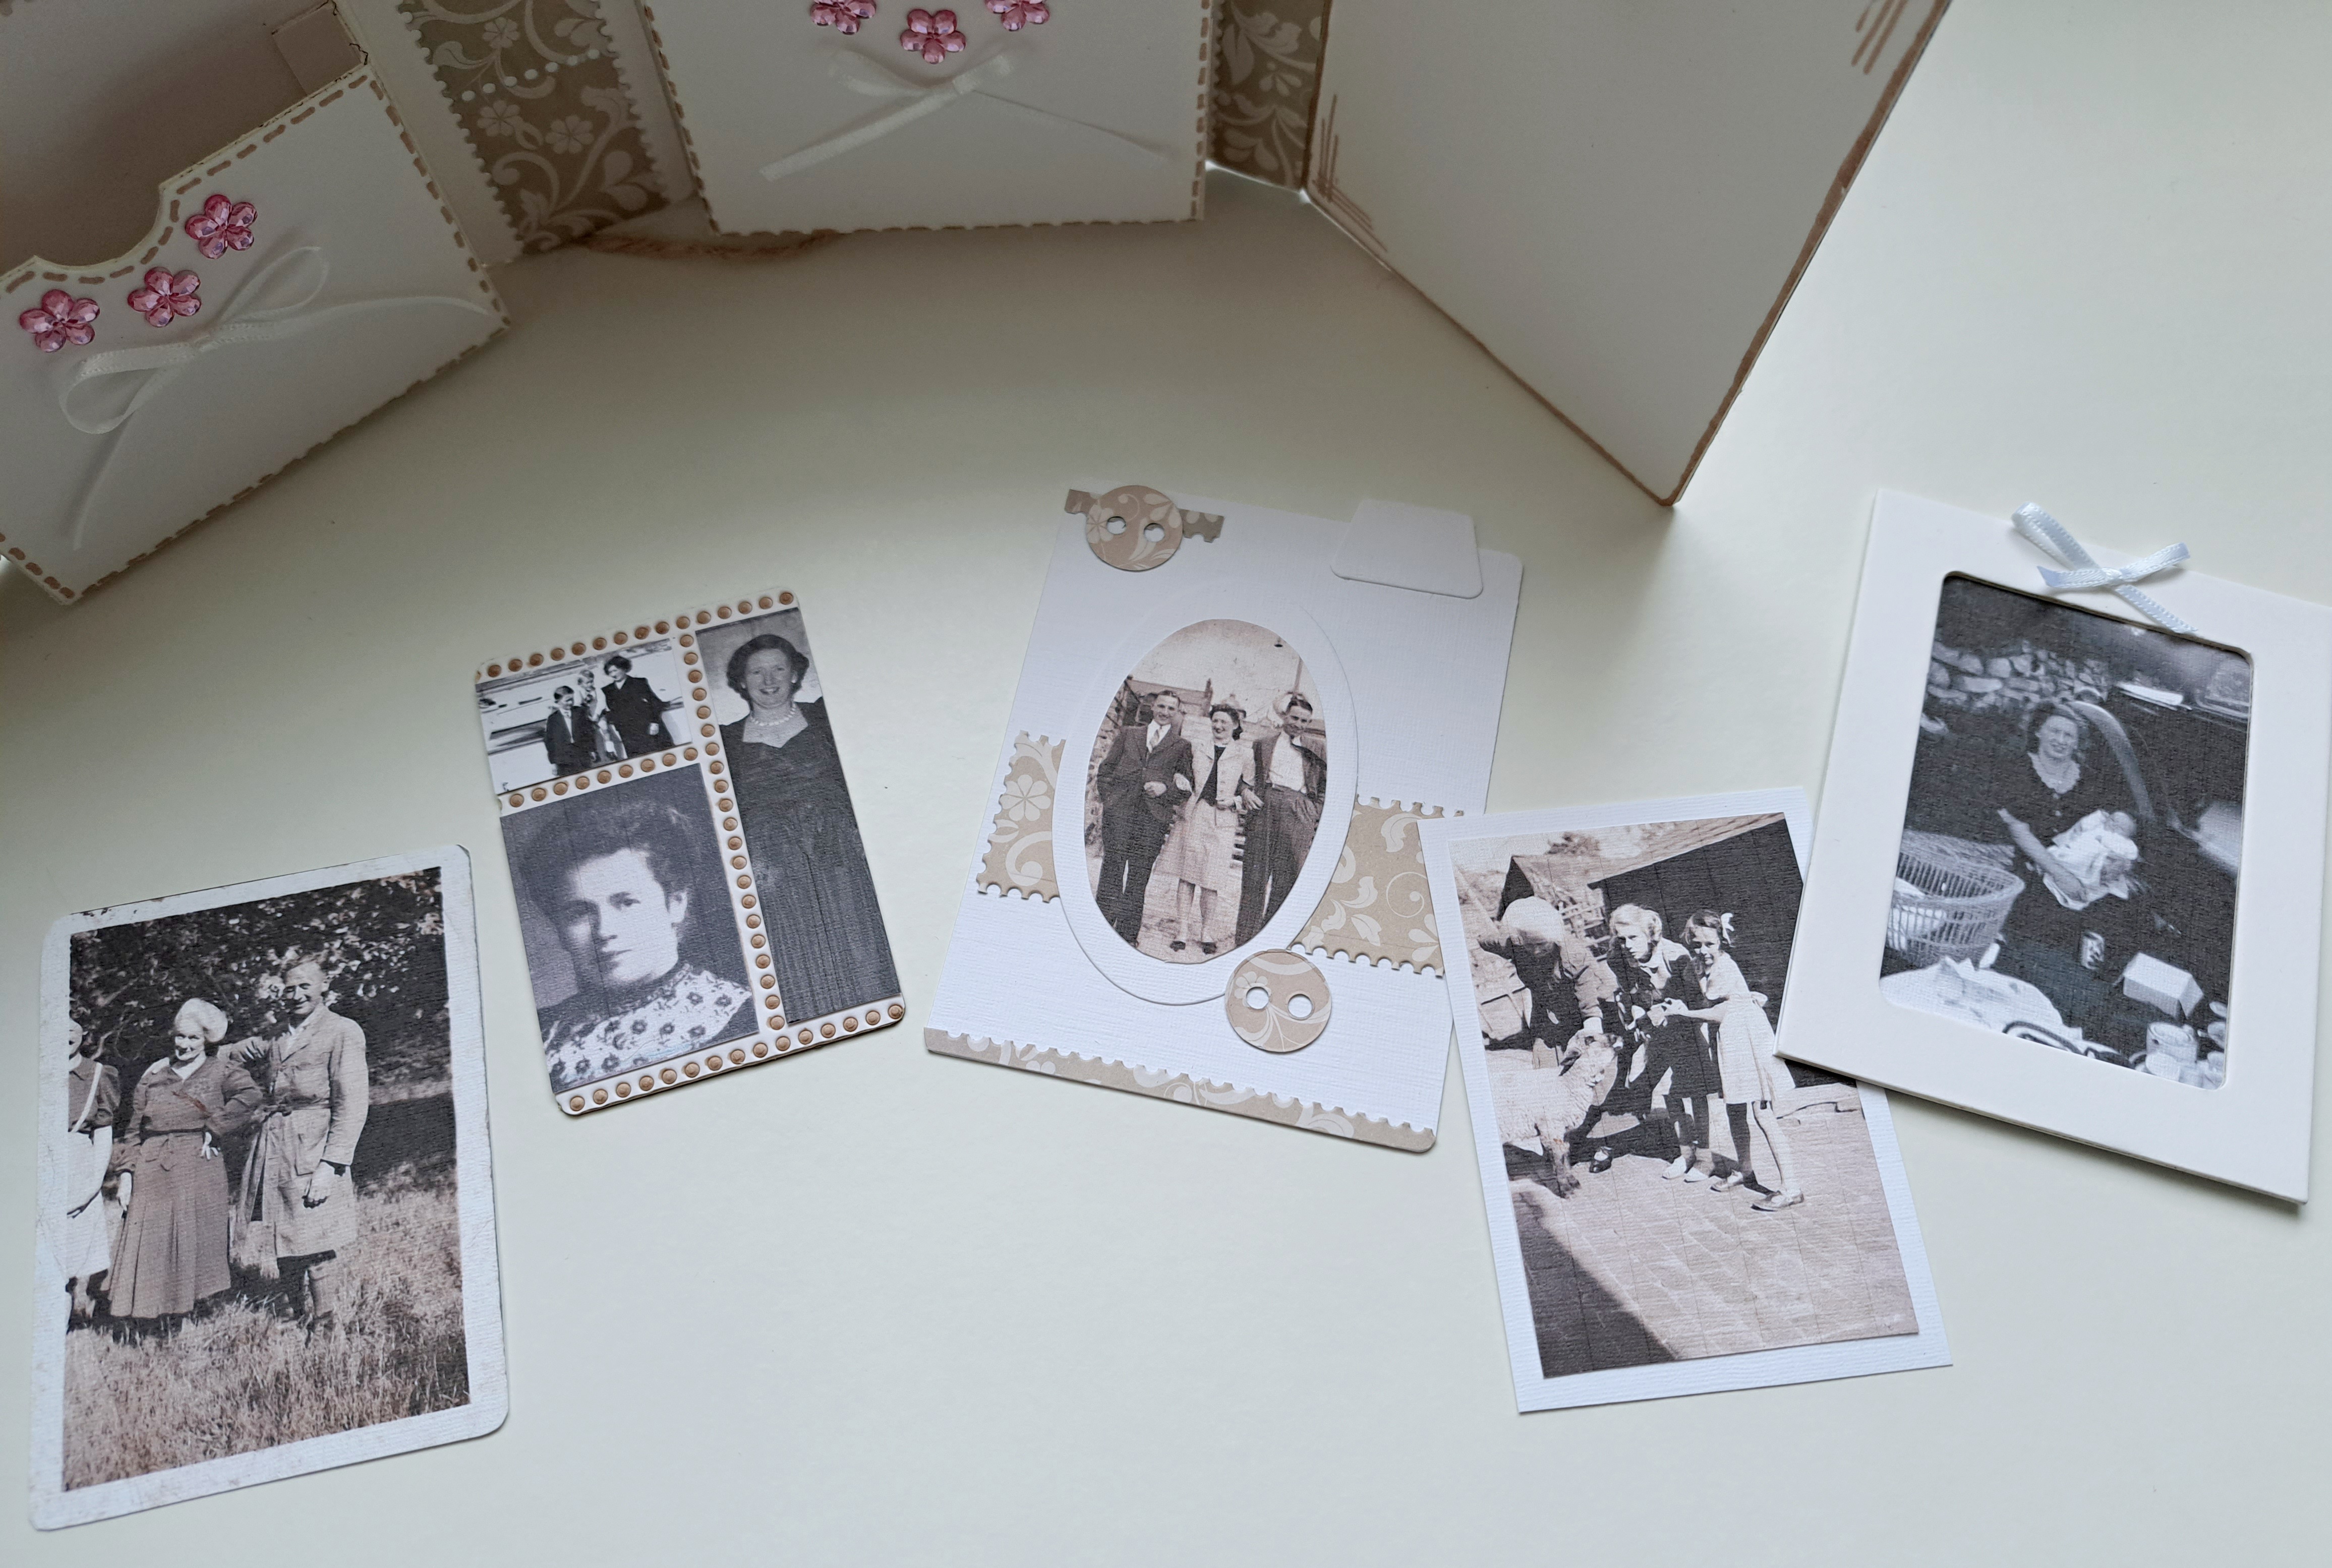
For this months release project, I wanted to create something a bit more personal to what I would usually create. So I have reconnected with my past and fished out some old photographs, of my gran and my great great grandparents.
I grew up knowing my Gran until she sadly past away when I was 14 years old. She had suffered from dementia for a number of years before she sadly lost her fight with pneumonia and a massive stroke.
Gran is the reason I am in to Art & Crafts. Every Saturday I used to spend the afternoon with my gran, she would show me how to draw, create craft projects and we also used to go walking in the woods and make dens! Used to love den building and climbing trees 🌳. Gran gave me the best childhood memories.
I never knew my grandad sadly, as he died when he was 55 of a severe asthma attack and issues with his heart. Gran used to tell me about him, he was a farmer too, when my grandad died, my dad took over the farm where I grew up. Farming and being in the great outdoors was the best place to be. I love animals 🐄
So, enough of my past, let’s get down to my project…..
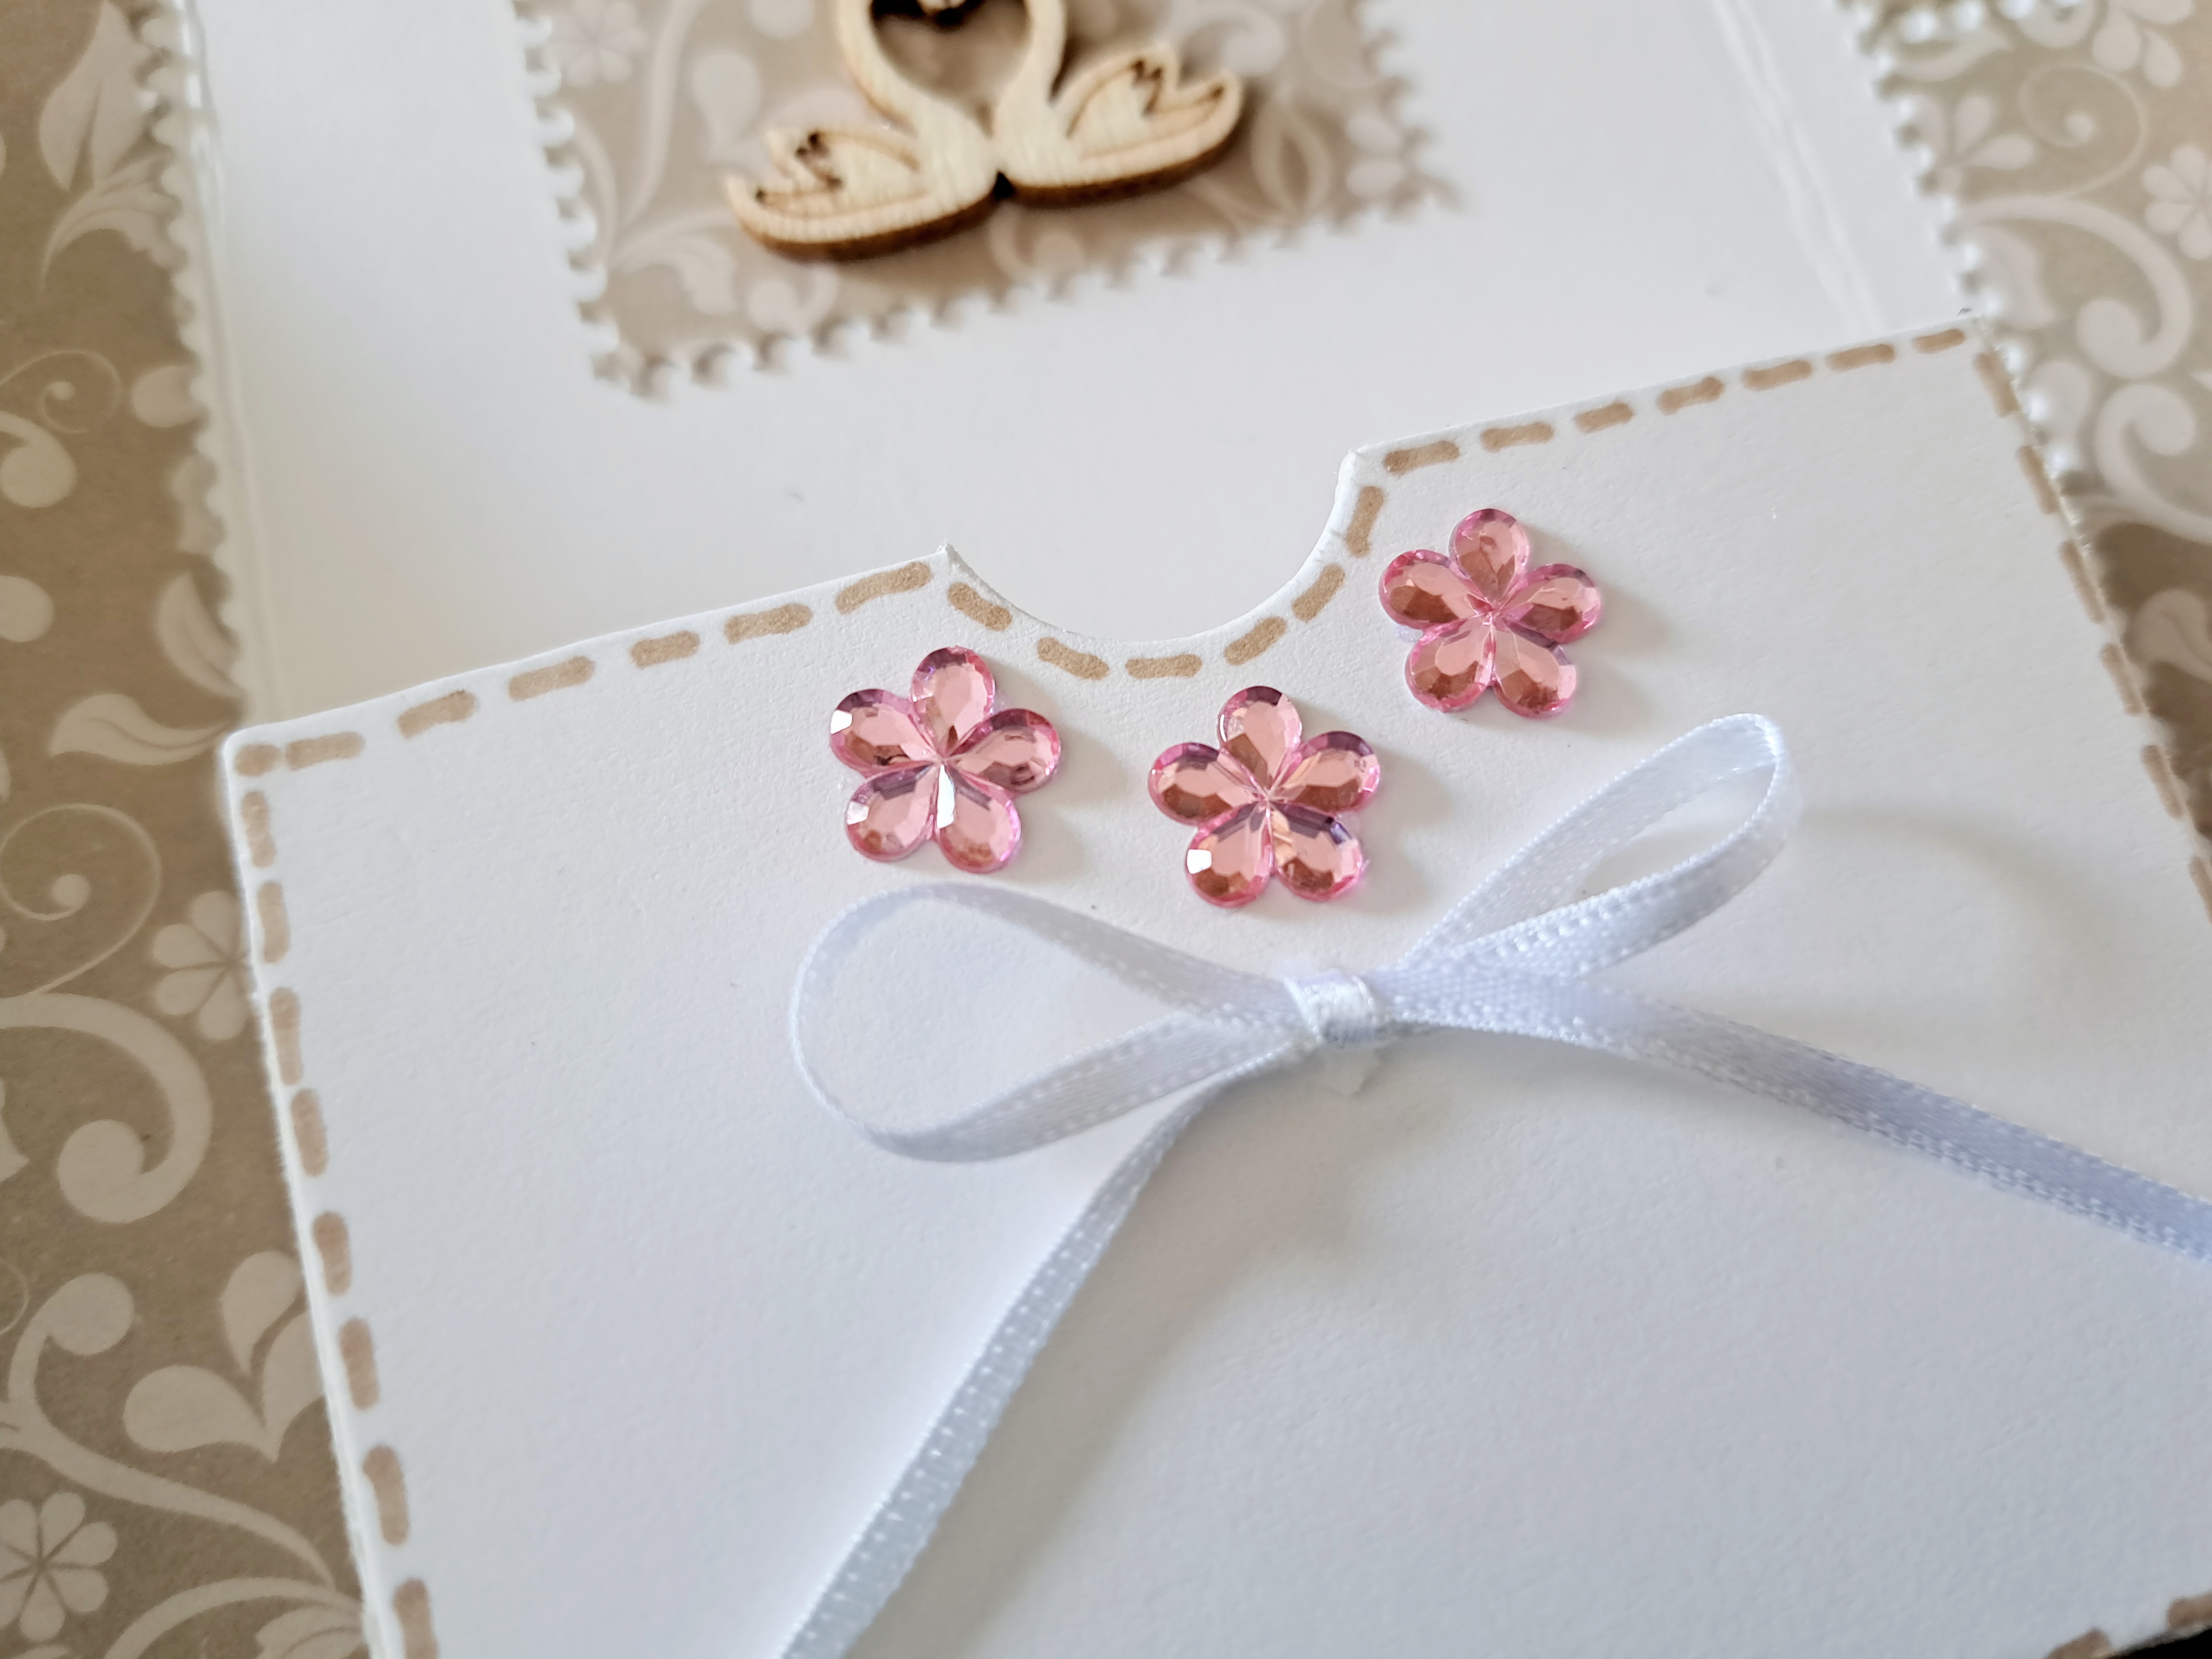
Step 1: I cut out all the components to make my journal…

Step 2: I then covered the covers of the journal and glued the spines together…


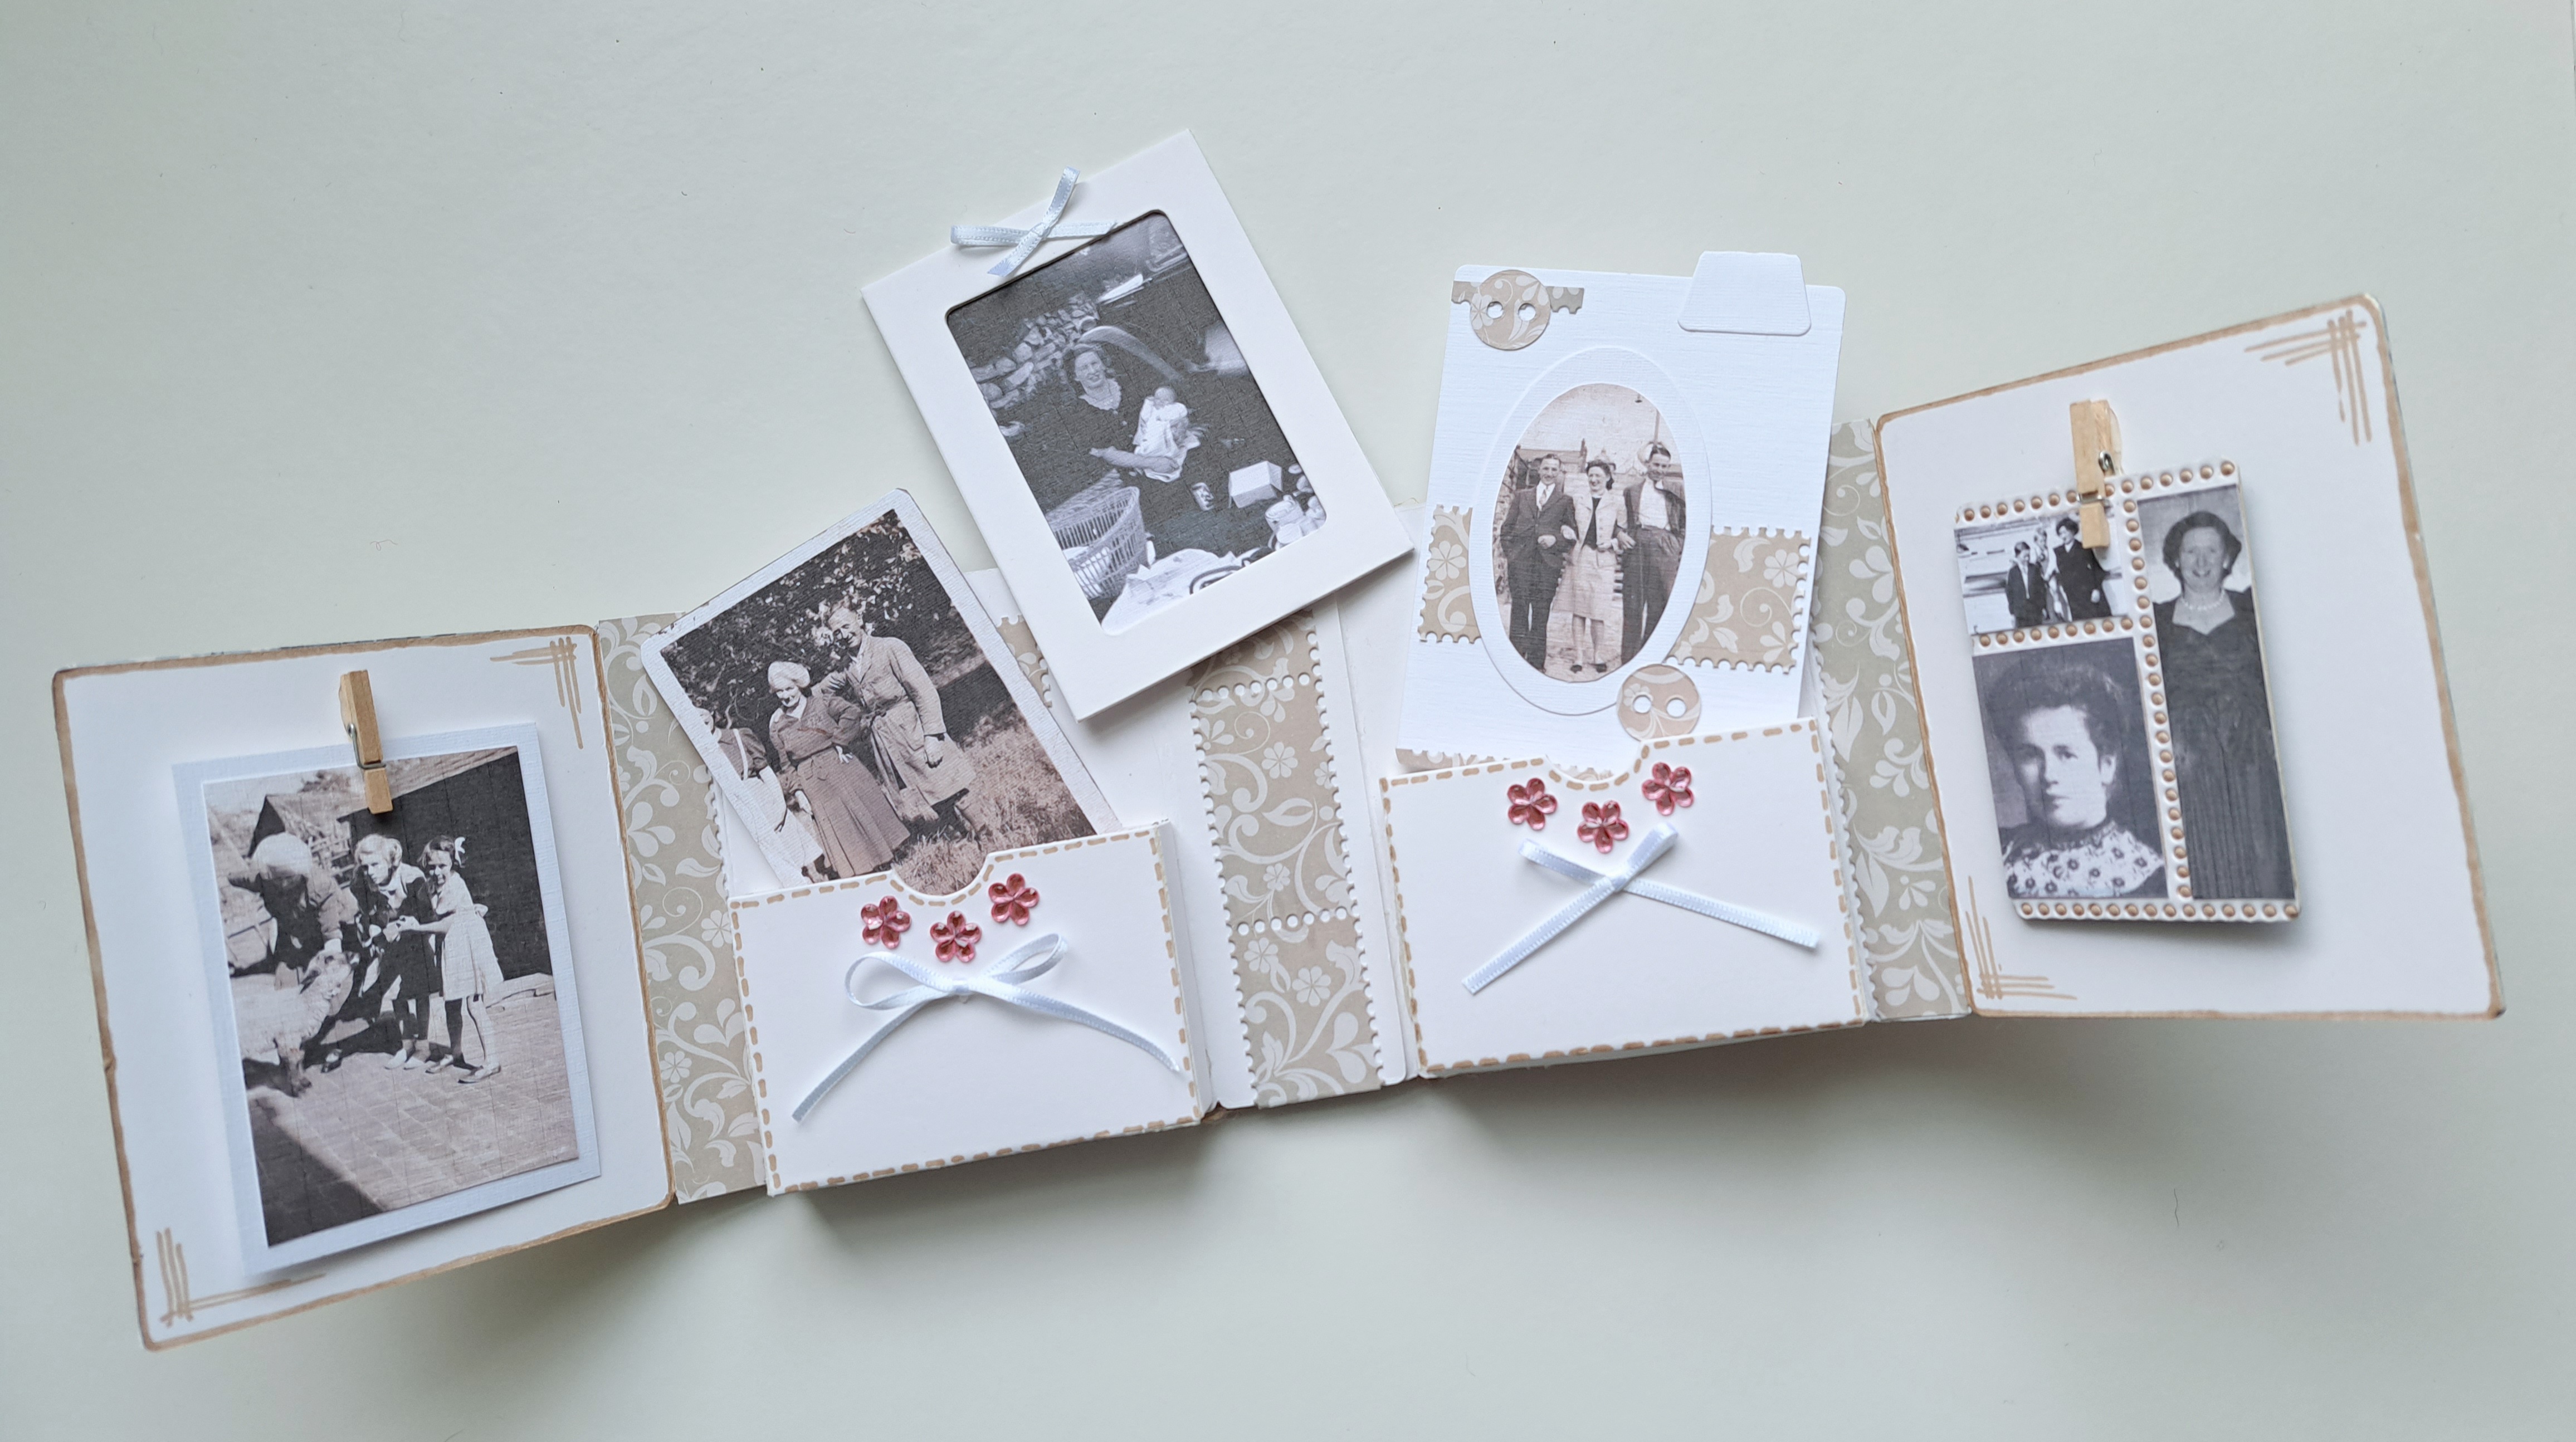


I LOVE this project- it's like seeing your family tree in one little book! Would be cool to have the person's pic on one side and notes about them on the back so you could see where there were in the family history <3 Gorgeous book!
ReplyDeleteThis cards case must be beautiful in person, I know when Eileen was showing it on the video showing all the details and family photos gave it life. Thanks for sharing!!!
ReplyDelete