A little ray of sunshine


Hello fellow crafters! Hope you are all doing ok. So Chapter 4 has just been released and wow what can I say! I am totally in love with the Sunflower die! It’s great fun! I have done a couple of sunflower projects - Yeah I know, I am slightly addicted to this new die haha.
To start with I will show you how I created the vase using the new geometric box.
Step 1: I put together 2 x boxes….

One with a plain base and the top lid I die cut the whole out. This will be used as the bottom box. The whole allows for the flowers to be pushed all the way down to the base….

Then the top box has 2 holes in the top and base…

Step 2: I hot glued the top box to the base box, we now have a full size vase…

Step 3: I added ribbon and a bow around the joining, to add detail and to hide the joining…

Step 4: I made 5 x sunflowers and attached these to stems. I filled the vase out a bit by using artificial stems and leaves. The stars from the geometric die, I made use of and added a button to the centres and hot glued to some of the stems…

The whole design is now complete and looks stunning in the window …

Project No.2
My second project was great with wall art in mind. I wanted to design something that will brighten up the home. I decided on a box frame. Here is my step-by-step tutorial;
Step 1: I cut out some thick card for the base, then die cut the sunflowers and a few leaves…

Step 2: After I assembled the sunflowers, I then used distress ink to edge the centres of the sunflowers…

Step 3: I used a heart stencil and some yellow distress in to faintly add some hearts to the background before I adhere the sunflowers…

Step 4: The centres were added to the sunflowers. How gorgeous do they look?

Step 5: I arranged the sunflowers onto the base and then glued them down before adding them into the box frame…


Step 6: I added vinyl words to the glass using my Cricut machine.

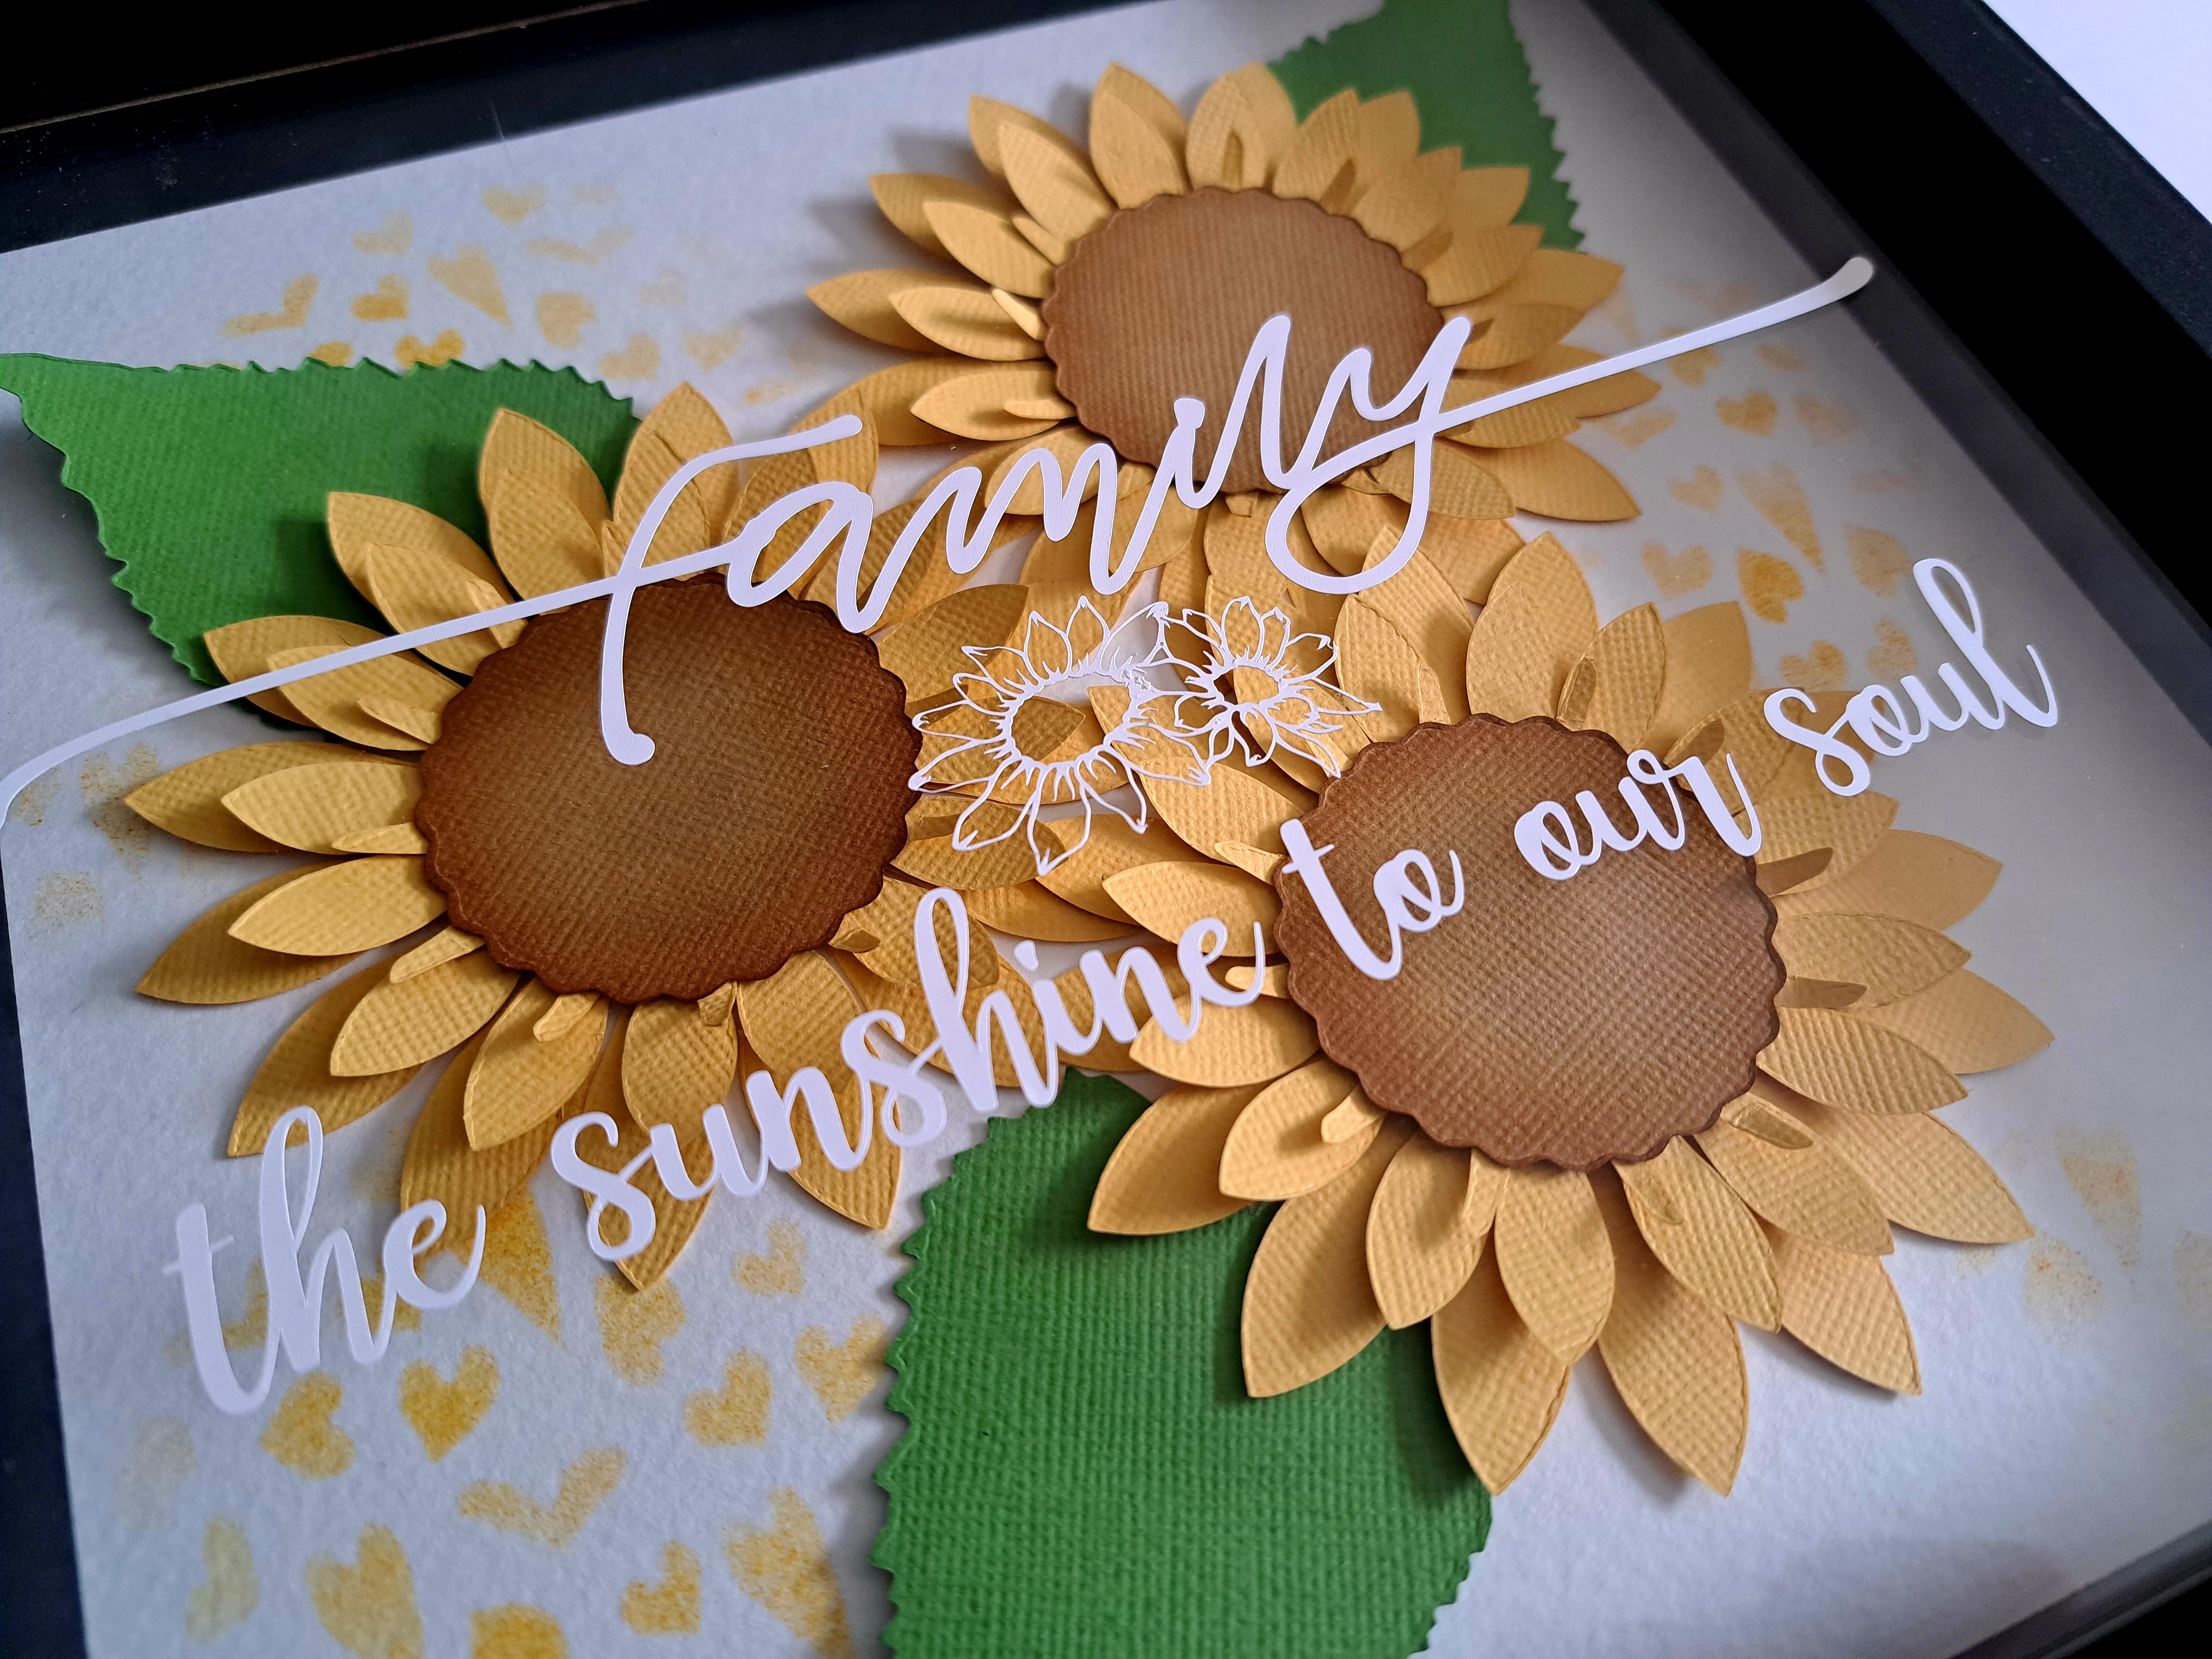
Such a great addition to add to your home or perfect to gift to someone this Christmas!
Project 3

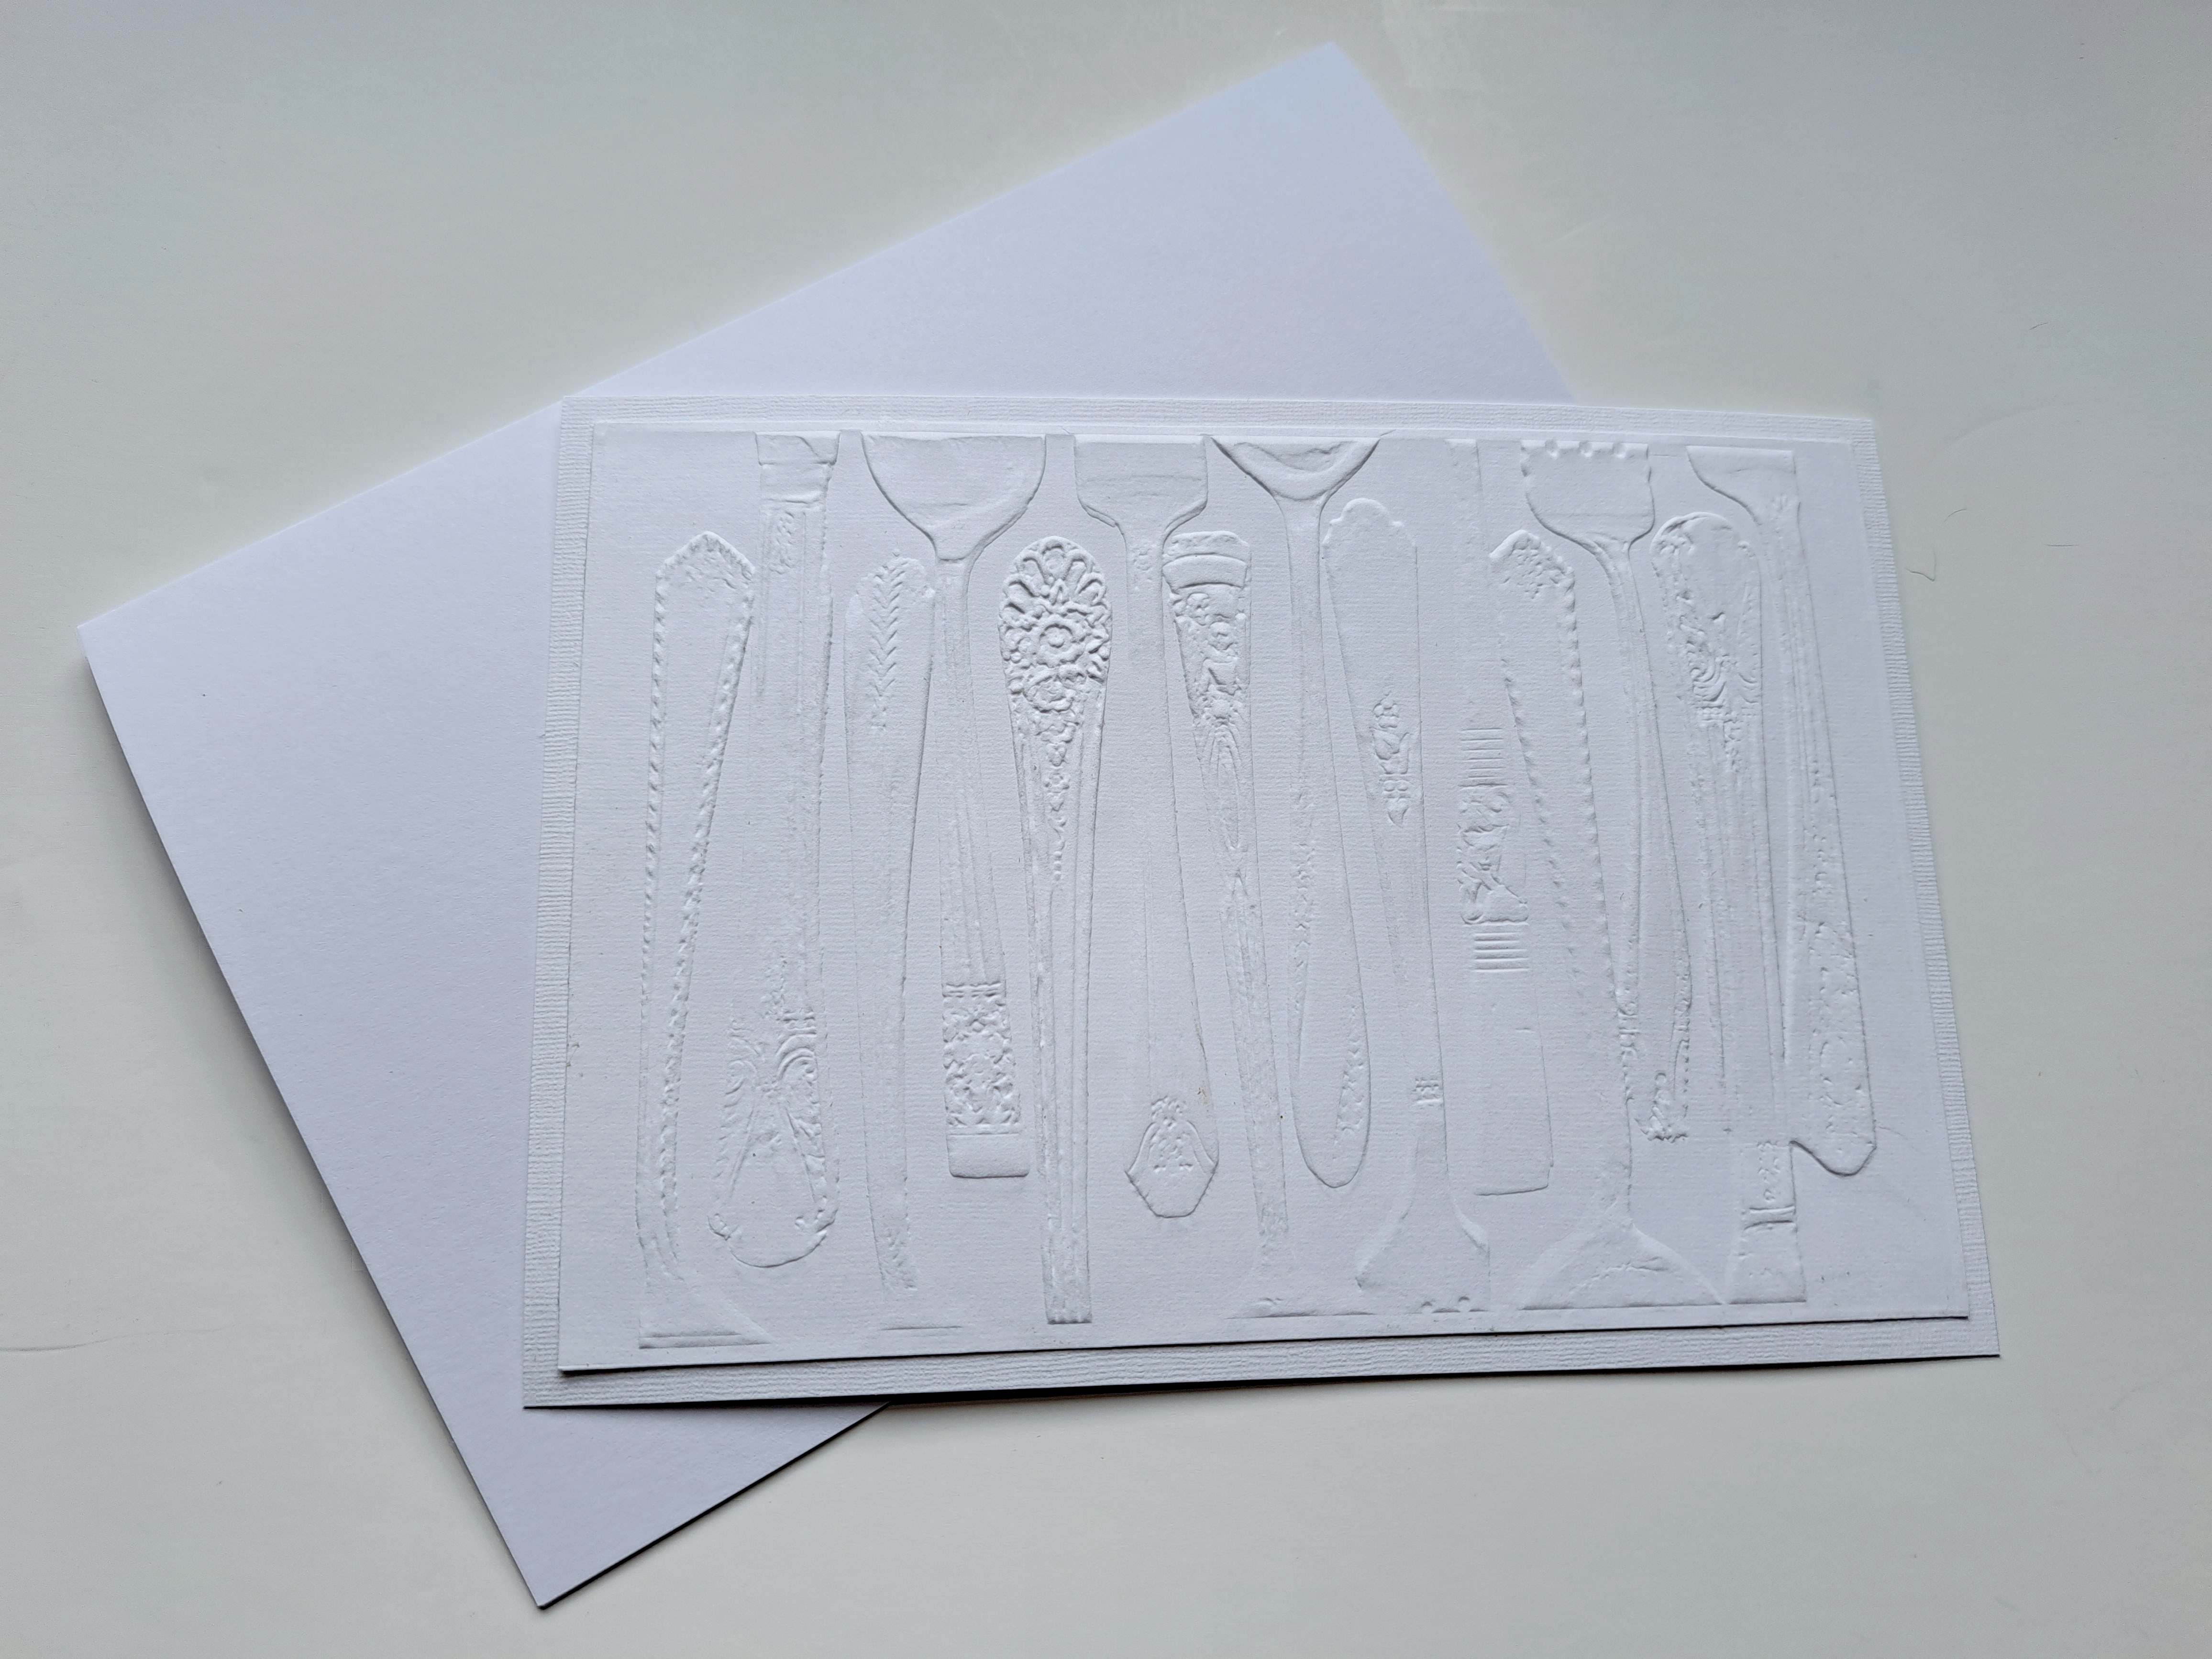
You can’t beat a new embossing folder and this one works perfectly with Eileen’s teacup and spoon die from a couple of years ago. I have kept the design to this card quite plain and simple but elegant!
Step 1: I embossed some textured card and backed this onto another piece of card, just to give it a bit of depth…
Step 2: I created this gorgeous spoon using matboard and silver card (I embossed the handle with some gorgeous hearts) and then completed it with a bow…


Step 3: I added a sentiment to the front of the card…

Step 4: The spoon was secured to the card and leaves were added behind the sentiment…
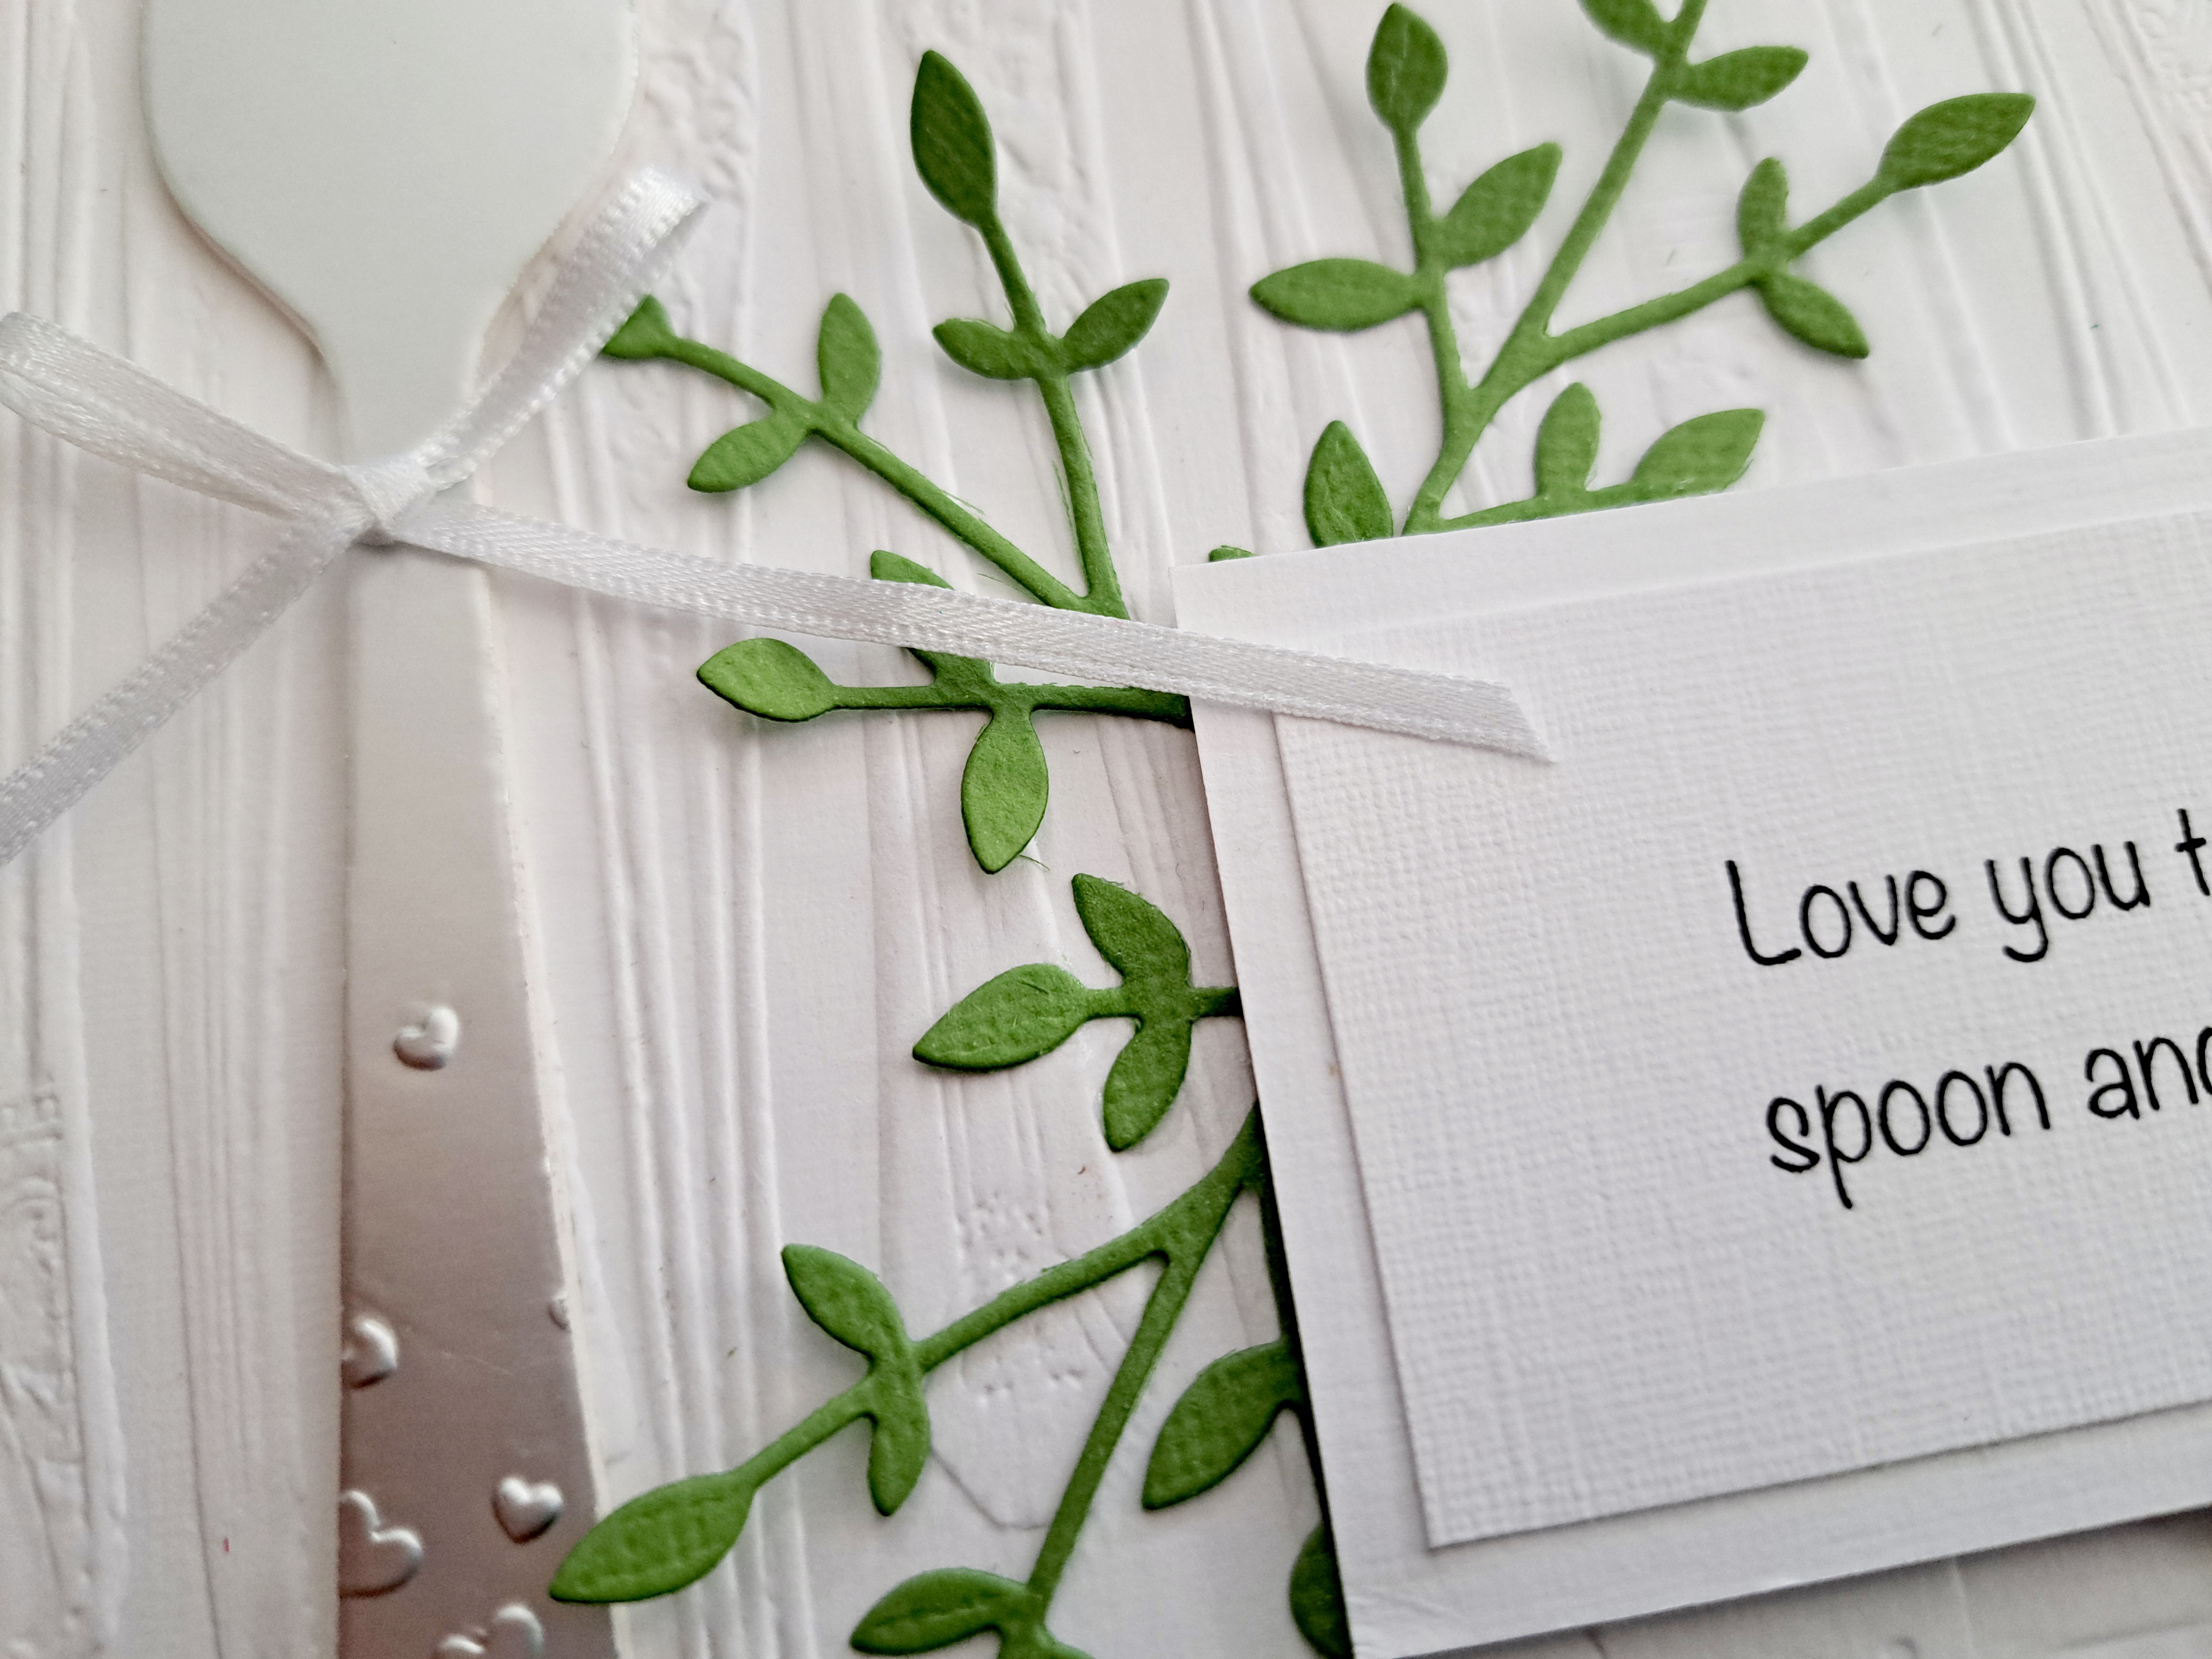
Step 5: It wouldn’t be me if I didn't add flowers to a greetings card haha!

Step 6: I finally added some gems to the flowers to complete my greetings card!


The Geometric Box is a different kind of design for me. I love the ease of assembly, the unique shape and and the possibility of expanding the box into larger containers! This is a ScoreBoards die so it may be cut from sturdy materials like matboard, chipboard, metal, leather and fabric. The finished box measures 4” h x 3” w x 4” d… or so… a fun feature of this die is that it adapts to how you shape it. You’ll see :-) Watch Eileen’s livestream videos to show how to expand the possibilities of this die.
Use the Geometric Box for storage- for pencils, silverware, flowers, or tools. The box may also be used as a gift container- imagine adding teabags, a pretty silver spoon and a bow as a get well gift!
The Sunflower is a Bigz L steel rule die- designed to cut and score a myriad of materials. The Sunflower is BIG- it measures about 4" across and comes with a leaf, three sizes of petals and a flower center! Stack layers of petals to make a traditional sunflower, or change colors and create a pink coneflower. The basic shape is there for you to create your own flowers! Make a stem for the flower using wire and your Twist and Style Tool. The coordinating Geometric Box die works perfectly as a vase.
I love the whimsical patterns of vintage cutlery and that's why I created this Silverware 3D embossing folder! The design is so detailed you can actually see a tiny bride and groom on the handle of a cake server.
This folder is perfect for creating seating charts, menus, invitations, cards and recipe books. You would be surprised at the many materials you can emboss- metal, paper, cardboard, Sizzix texture roll and more. Once you have embossed the image, rub a light coat of a metallic Luster Wax over the top of the design and you have an amazing result!
I hope you will give these dies a try. Please remember to share them in the Eileen Hull Fan Club Facebook group so we can all be inspired!
Thank you for visiting my blog! I hope myself and the rest of the design team have filled you with inspiration. Don’t forget to leave some love on the teams blogs which can be found via Eileen’s website.
www.eileenhull.com
Sarah Lizzie
XXX


Lovely projects and wonderful tutorials! I really like the shadowbox you created!
ReplyDeleteSuch beautiful samples Sarah Lizzie! I love the way you made the Geometric Box a double height vase x
ReplyDelete