Summer Shadow Box Tutorial

Welcome back to my blog - Summer Shadow Box Tutorial!
Hope you are all keeping safe and well. April and Chapter 2 release is here already, can’t believe how fast this year is going!! I wanted to create something summery for this project. I have done a step-by-step tutorial which you can view below;
Step 1: The cuts!

Step 2: I then took each section and glued the sides together.

Step 3: I then constructed the frame…

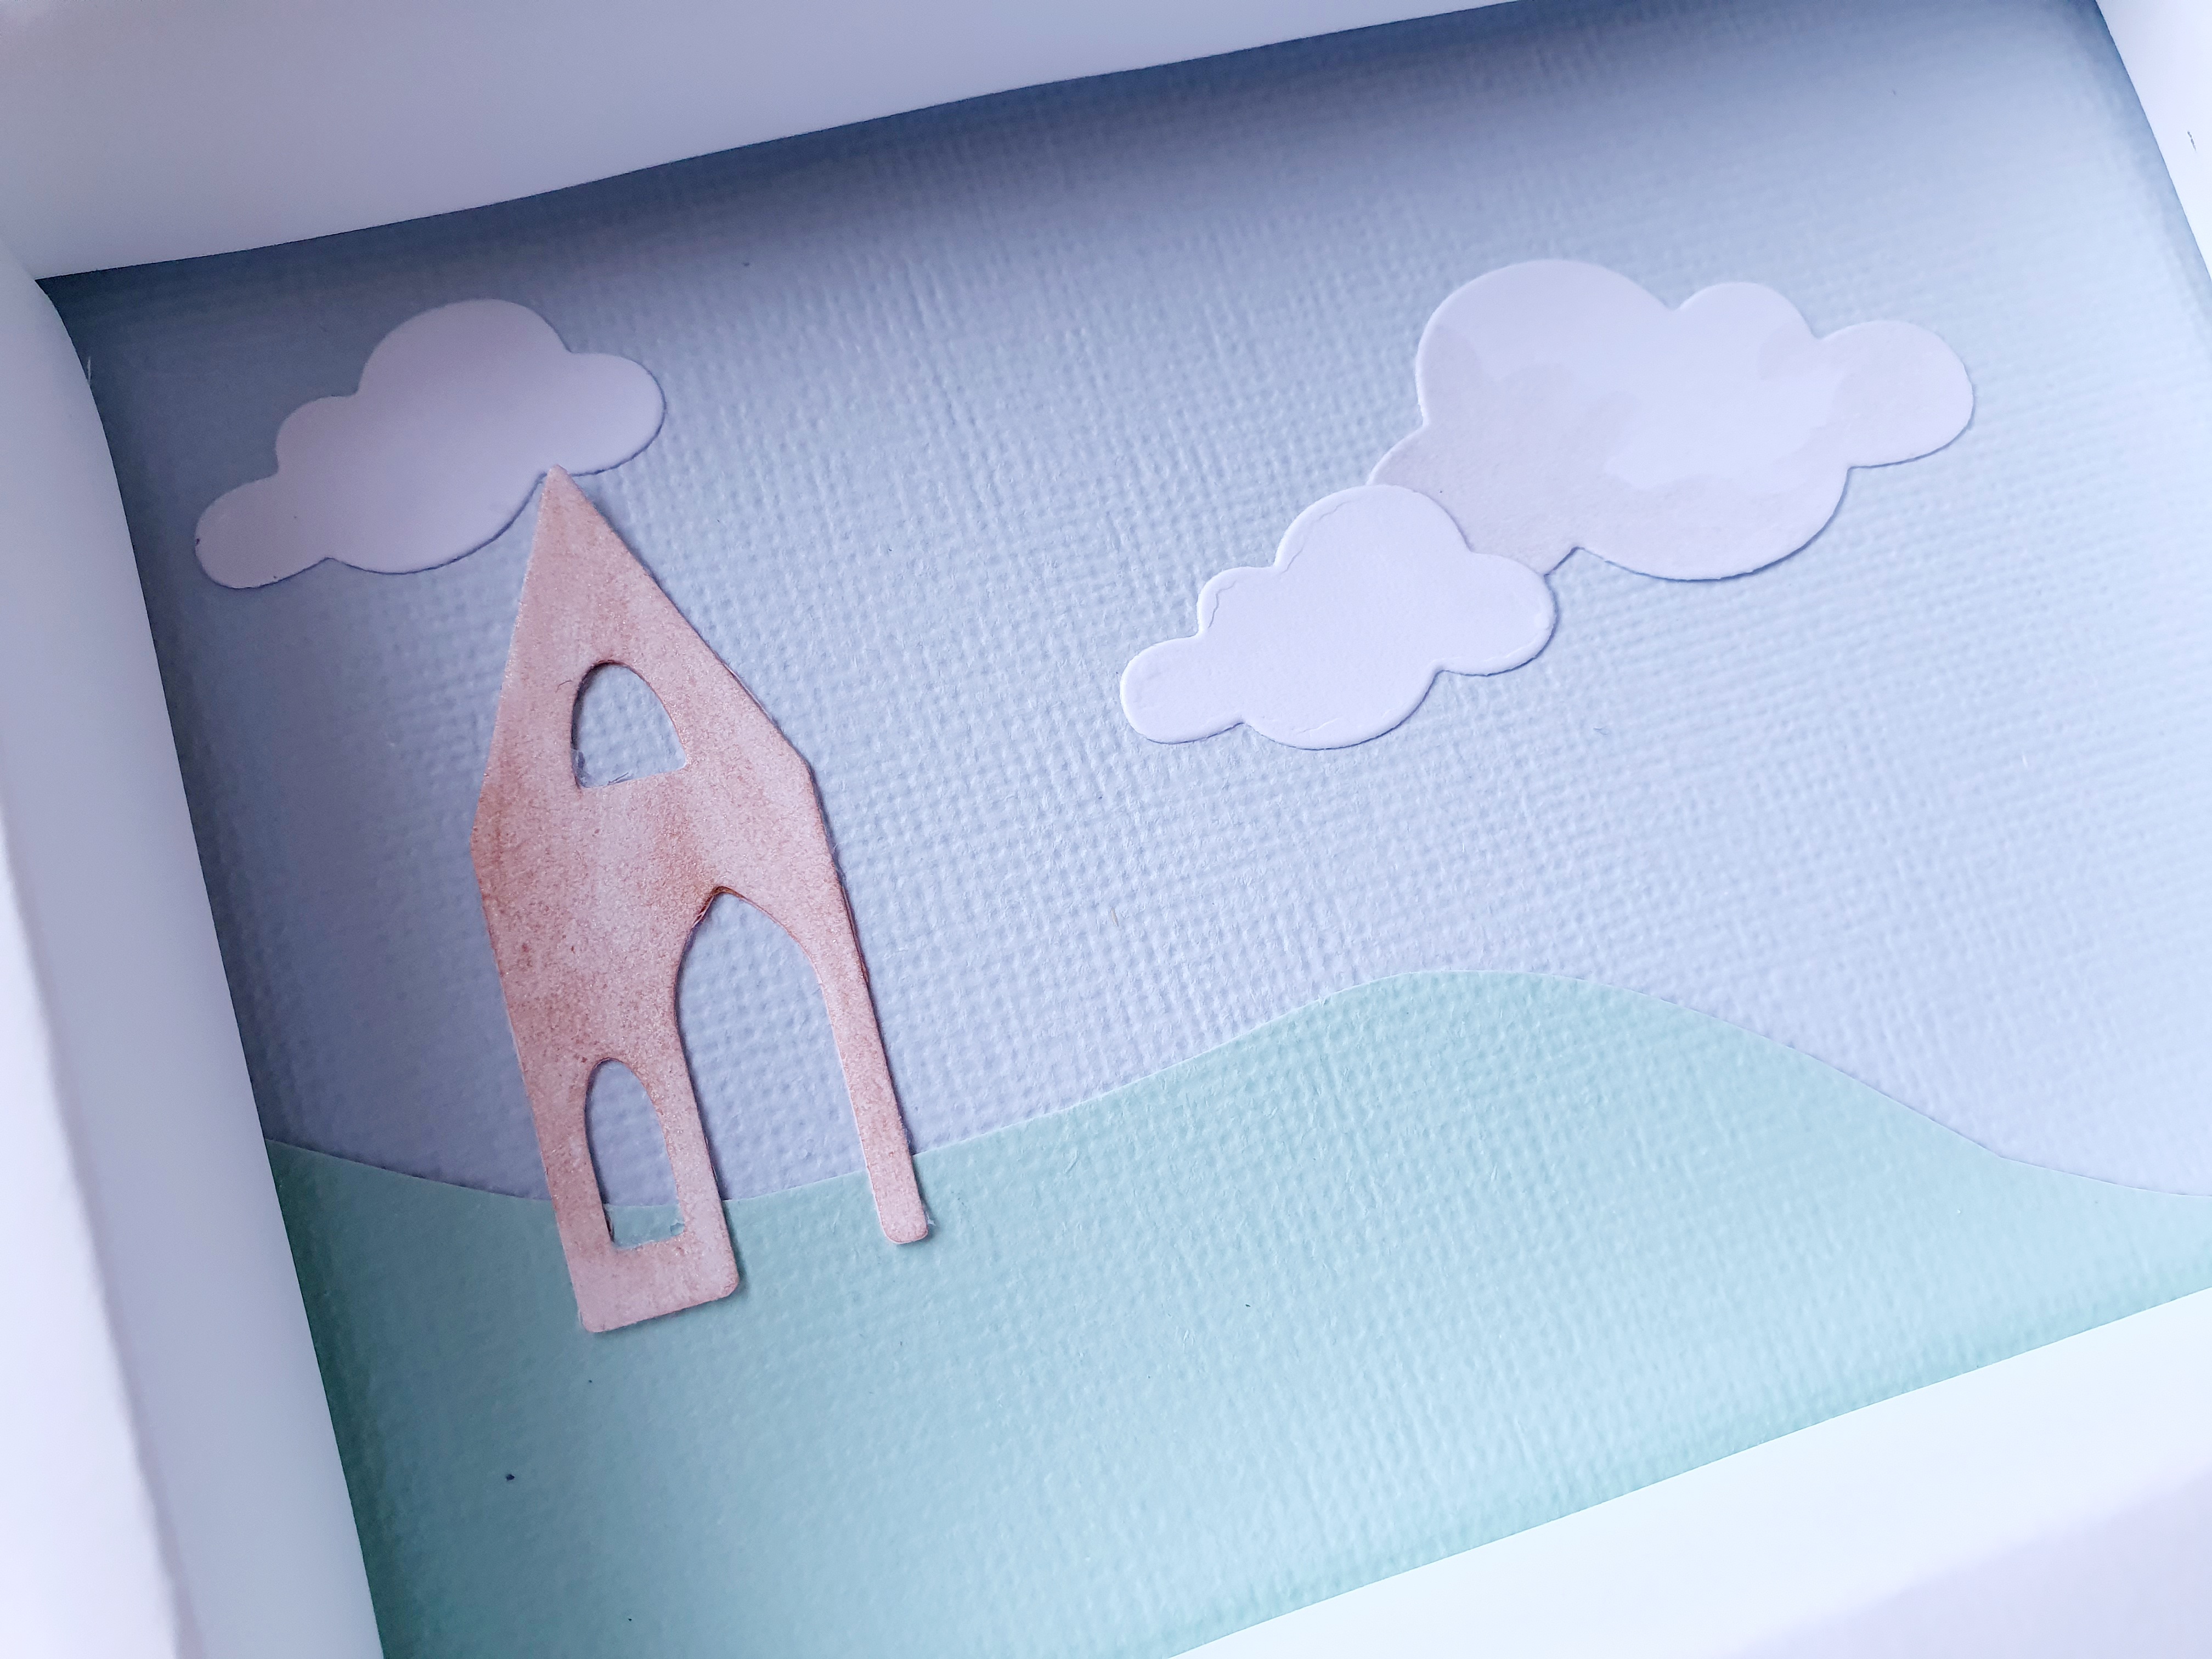
Step 4: I decided on the background, I want to introduce a hill into my picture. So I cut out a hill and glued that to the blue background…

Step 5: This was then glued to the rear of the frame…

Step 6: I started adding things to the picture…
Step 6: I added brick detail to the church…

Step 7: More pieces were added to my picture….

More pen detail was added…


My Summer Shadow Box is now complete ❤️☀️💐

Thank you for stopping by my blog. Until the next time, happy crafting!


This is so clever Sarah Lizzie! Standing ovation!
ReplyDelete