‘Driving home for Christmas’
Driving home for Christmas!
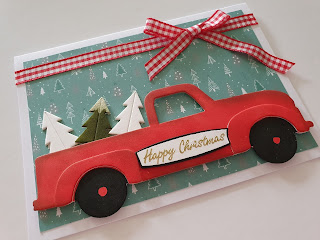
Hi all and welcome back to another Christmas project, this one is using Eileen Hull’s new Truck die. I have put together a step-by-step tutorial to show you how I created this Christmas Greetings Card.
Step 1: The Truck and Christmas trees were cut out. I chose a Christmas background paper to use as the background…
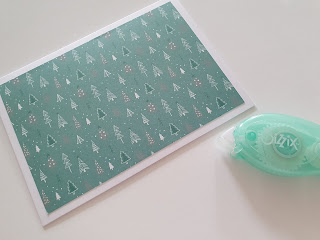
Step 2: I then attached the background paper to the card…
Step 3: I used ‘Barn door’ distress ink all over the Truck and I also did the wheel arches in the same colour. I then used black pen to fill in the tyres…
Step 4: I used ‘Vintage Photo’ distress ink to add the edges of the truck to make it look distressed…
Step 5: I then used ‘Peeled Paint’ distress ink to colour one of the trees. When this was dry I then added white pen to the tops so it appears to have snow on the top. I decided to leave the other trees white. I made a Christmas sign to go on the side of the truck…
Step 6: I glued the trees on to the background paper and then used foam tape on the truck to raise it off the card, to give it a 3D effect….
Step 7: The last and final touch, was to add the ribbon and a bow across the top of the card just to complete my design…
Thank you for stopping by my blog. See you all very soon with another wonderful project. Until then, happy crafting!!


Comments
Post a Comment
Hi,
Thank you for getting in touch. I will get back to you as soon as possible.
Kind Regards
Sarah