Rudolph’s Gift Card Holder

Hello and Welcome back to my blog. This month’s theme is ‘Seasons Greetings’. I have created this project using Eileen Hull’s Gift Card die. During this blog, I will be doing a step-by-step tutorial on how I created this Rudolph themed project!
Step 1: I chose the background papers that I wanted to use and then I die cut these and the mat board which is going to act as my base.


Step 2: I found some nice, shiny gold paper which I glued to the inside of the gift card folder. I glued on the outside white & gold paper to the outside of the folder and let them dry. I selected a Christmas wording embossing folder and embossed the top part of the gold on the folder, as pictured below....

Step 3: I took the gift card pieces and glued to the matboard....
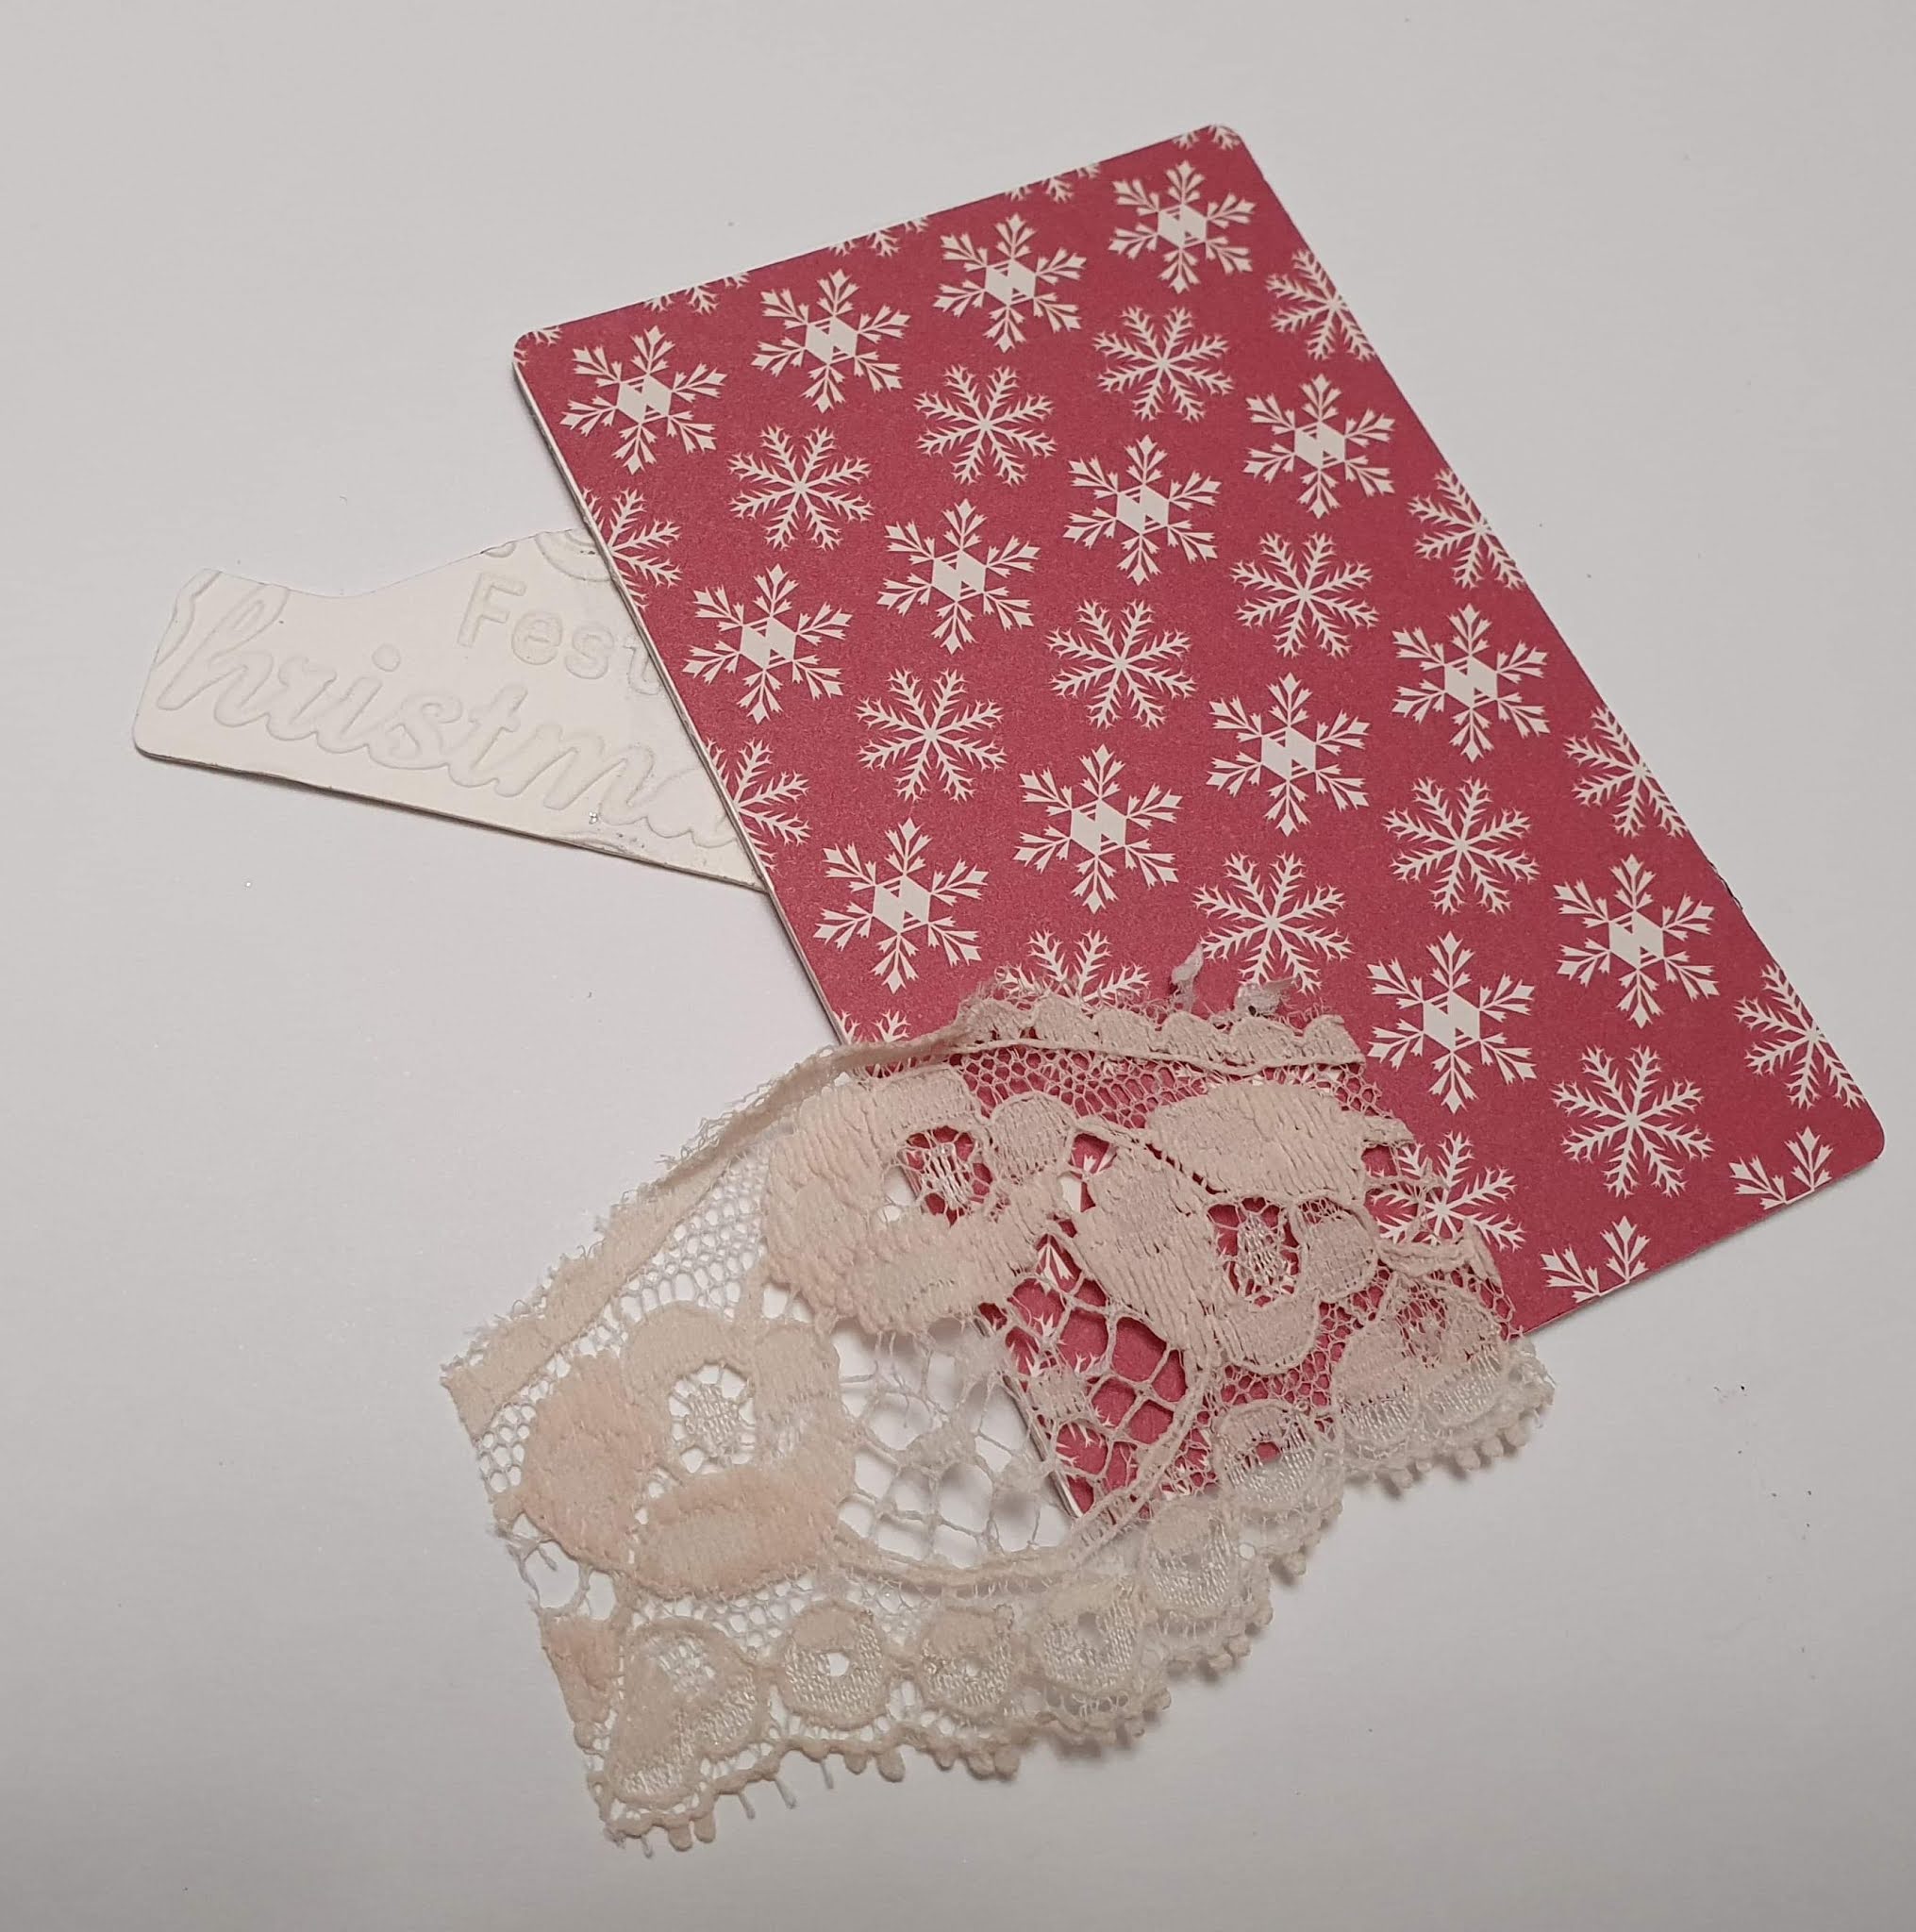
Step 4: I chose a shimmery piece of card which I embossed and added to the tab. I then cut a thin strip of shimmery card ready to glue to the base of the gift card to balance out my design.

Step 5: I decided to use some beautiful lace to go across my design, and I then added the wooden Rudolph head - which is lovely, gold and of course very sparkly! The spare piece of lace is going to be added to the gift card folder to link both of my designs.

Step 6: With my folder now dry, My next step is to add gold to the edges of the folder using gold embossing powder, which will then be embossed using the heat tool...

Step 7: I love the effects of heat embossing, it makes projects look totally different. Once all the edges were embossed I then hot glued the folder together...

Step 8: The whole design is coming together as planned. Now that the folder has been constructed, my next step is to decorate it. So I used the remaining piece of lace and another Rudolph head, but this time I wanted to add him some wobbly eyes and of course a red nose (Pom Pom), it wouldn’t be Rudolph without his famous red nose!

Both of my projects are now complete and I am really pleased with them. This gift card die is so versatile and can be used to make a variety of projects. Check out Eileen’s Etsy store for products and prices.
Thank you for taking the time in reading my blog and I hope I have given you some ideas and inspiration.
Stay safe and see you all again very soon for more projects.


super cute, I love it!! =)
ReplyDeleteSo adorable! Love all the sparkly details and Rudolph's googly eyes <3
ReplyDeleteCute and elegant! How did you manage that? Must be the glitter!
ReplyDelete