Junk Journal ❤
Hi and welcome back to my blog! This time I am doing a Junk journal. I love how this turned out. Here is a step-by-step tutorial about how I created it...
Step 1:
Step 2:
Step 3:
While the texture paste was still wet, I adding pearls, jewellery making bits and bobs. I let the paste dry before starting on the next layer.
Step 4:
I wanted my junk Journal to have an old, rustic feel to it, so I used a mixture of gold and silver guilding wax. Once dry, I then added some more embellishments and die cut some white leaves out. Its now beginning to come alive ❤
Step 5:
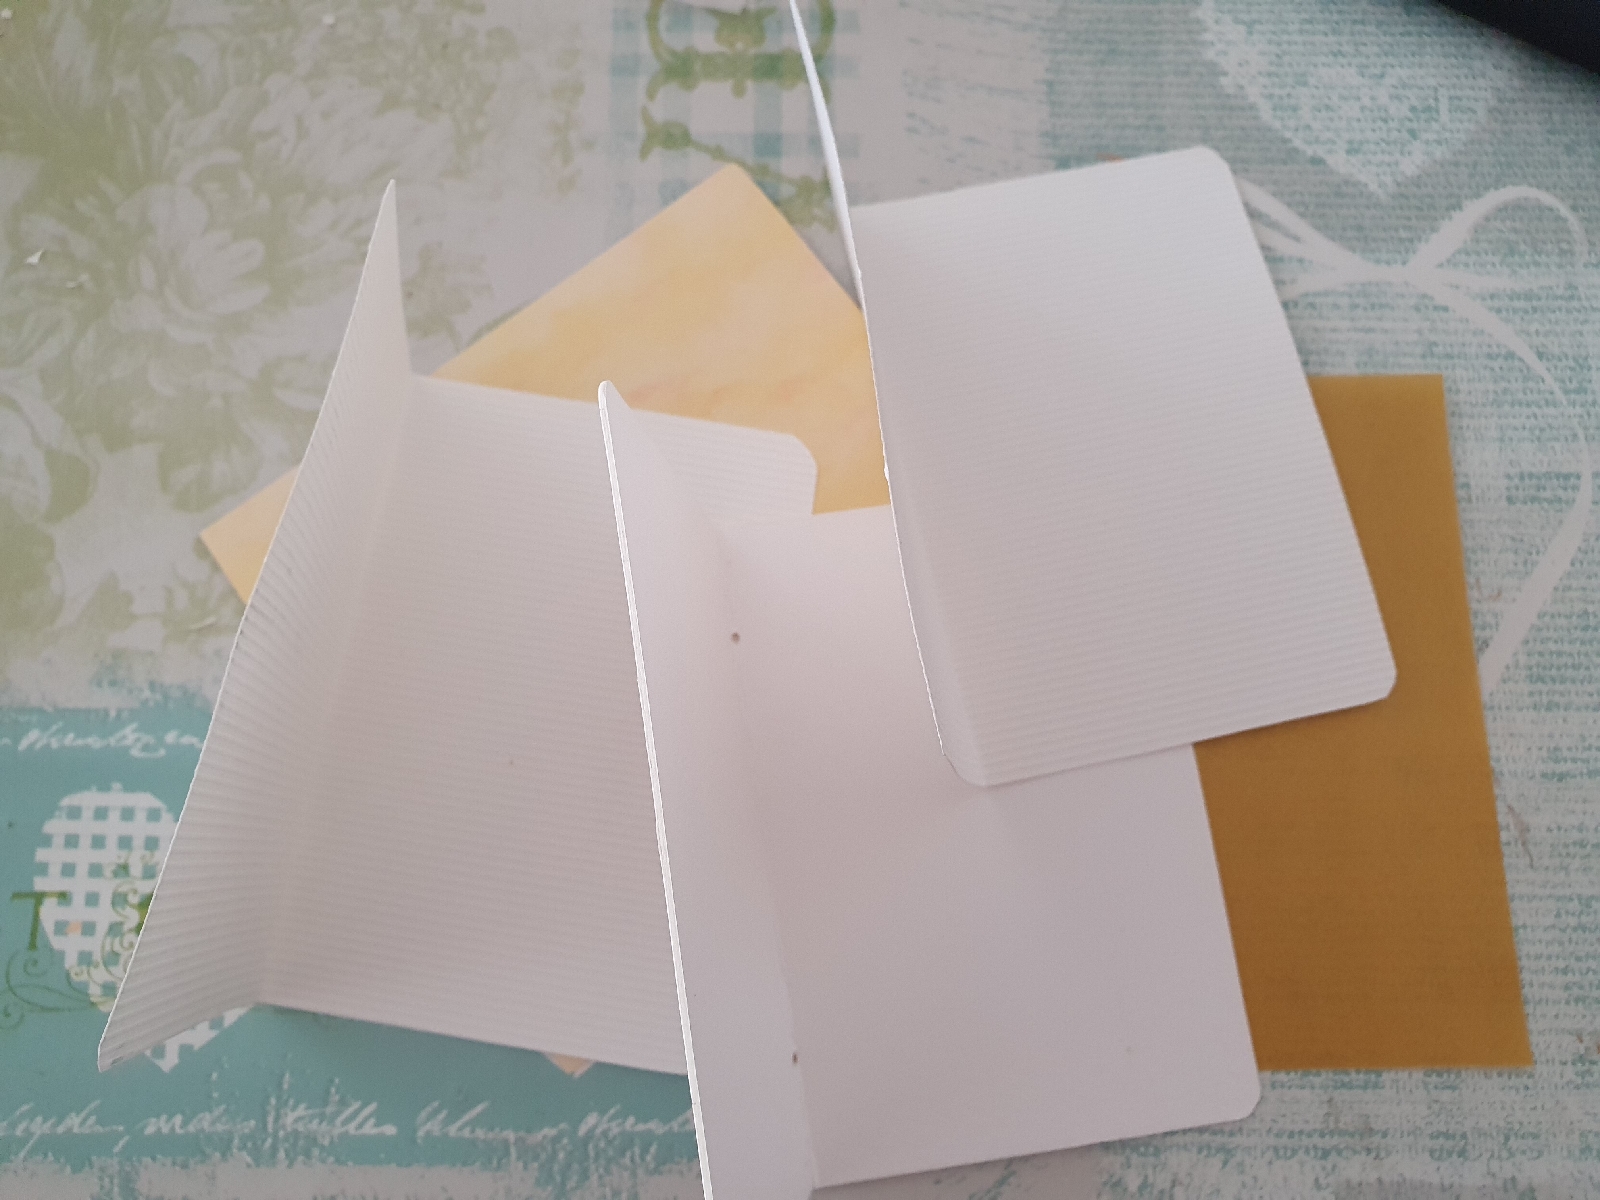
Next step was to glue the binder and covers together. I added lace to the binder of the book, doesn't it look smart?!
Step 6:
Step 7:
Step 8:
Layers were them built up and the inserts were starting to take shape. I wanted this book to have a positive feel to it, so I used quite a few wordings within this journal.
Step 9:
All the pages were finished, with lots of different materials used to complete this sweet journal.
Step 10:
The final step was to attached the inserts to the body of the journal. For this is used twine. I also added twine for the fastening of the journal just to keep it all looking rustic and old. I added some jewellery to the binder and they we have it, one finished junk journal. Thank you for reading. I hope this has inspired you to create your very own junk journal ❤


very cute journal Sarah! =)
ReplyDeleteThis is beautiful Sarah Lizzie! Your junk journal has so many cool elements- thanks so much for sharing your inspiration with us all!
ReplyDelete